> ## Documentation Index
> Fetch the complete documentation index at: https://docs.near.org/llms.txt
> Use this file to discover all available pages before exploring further.
# Your First Web3 App
> Quick guide to create a Web3 frontend application with NEAR integration - build a React/Next.js app where users can login with wallets and interact with smart contracts.
export const Github = ({url, start, end, fname, withSourceLink = true}) => {
const [code, setCode] = useState(null);
function toRaw(ref) {
const fullUrl = ref.slice(ref.indexOf('https'));
const [url] = fullUrl.split('#');
const [org, repo, , branch, ...pathSeg] = new URL(url).pathname.split('/').slice(1);
return `https://raw.githubusercontent.com/${org}/${repo}/${branch}/${pathSeg.join('/')}`;
}
async function fetchCode(url, fromLine, toLine) {
let res;
if (typeof window !== 'undefined') {
const validUntil = localStorage.getItem(`${url}-until`);
if (validUntil && Number(validUntil) > Date.now()) {
res = localStorage.getItem(url);
}
}
if (!res) {
try {
res = await (await fetch(url)).text();
if (typeof window !== 'undefined') {
localStorage.setItem(url, res);
localStorage.setItem(`${url}-until`, String(Date.now() + 60000));
}
} catch {
return 'Error fetching code, please try reloading';
}
}
let body = res.split('\n');
const from = fromLine ? Number(fromLine) - 1 : 0;
const to = toLine ? Number(toLine) : body.length;
body = body.slice(from, to);
const precedingSpace = body.reduce((prev, line) => {
if (line.length === 0) return prev;
const spaces = line.match(/^\s+/);
if (spaces) return Math.min(prev, spaces[0].length);
return 0;
}, Infinity);
return body.map(line => line.slice(precedingSpace === Infinity ? 0 : precedingSpace)).join('\n');
}
function buildSourceUrl(url, start, end) {
const base = url.split('#')[0];
if (start && end) return `${base}#L${start}-L${end}`;
if (start) return `${base}#L${start}`;
return base;
}
useEffect(() => {
const rawUrl = toRaw(url);
fetchCode(rawUrl, start, end).then(res => setCode(res));
}, [url, start, end]);
const sourceUrl = buildSourceUrl(url, start, end);
const startLine = start ? Number(start) : 1;
const fileName = fname ?? sourceUrl.split('/').pop();
return
{}
{start && end &&
Lines {start}–{end}
}
{}
{code === null ?
Loading...
:
{code.split('\n').map((line, i) =>
|
{startLine + i}
|
{line || ' '}
|
)}
}
{}
{withSourceLink &&
}
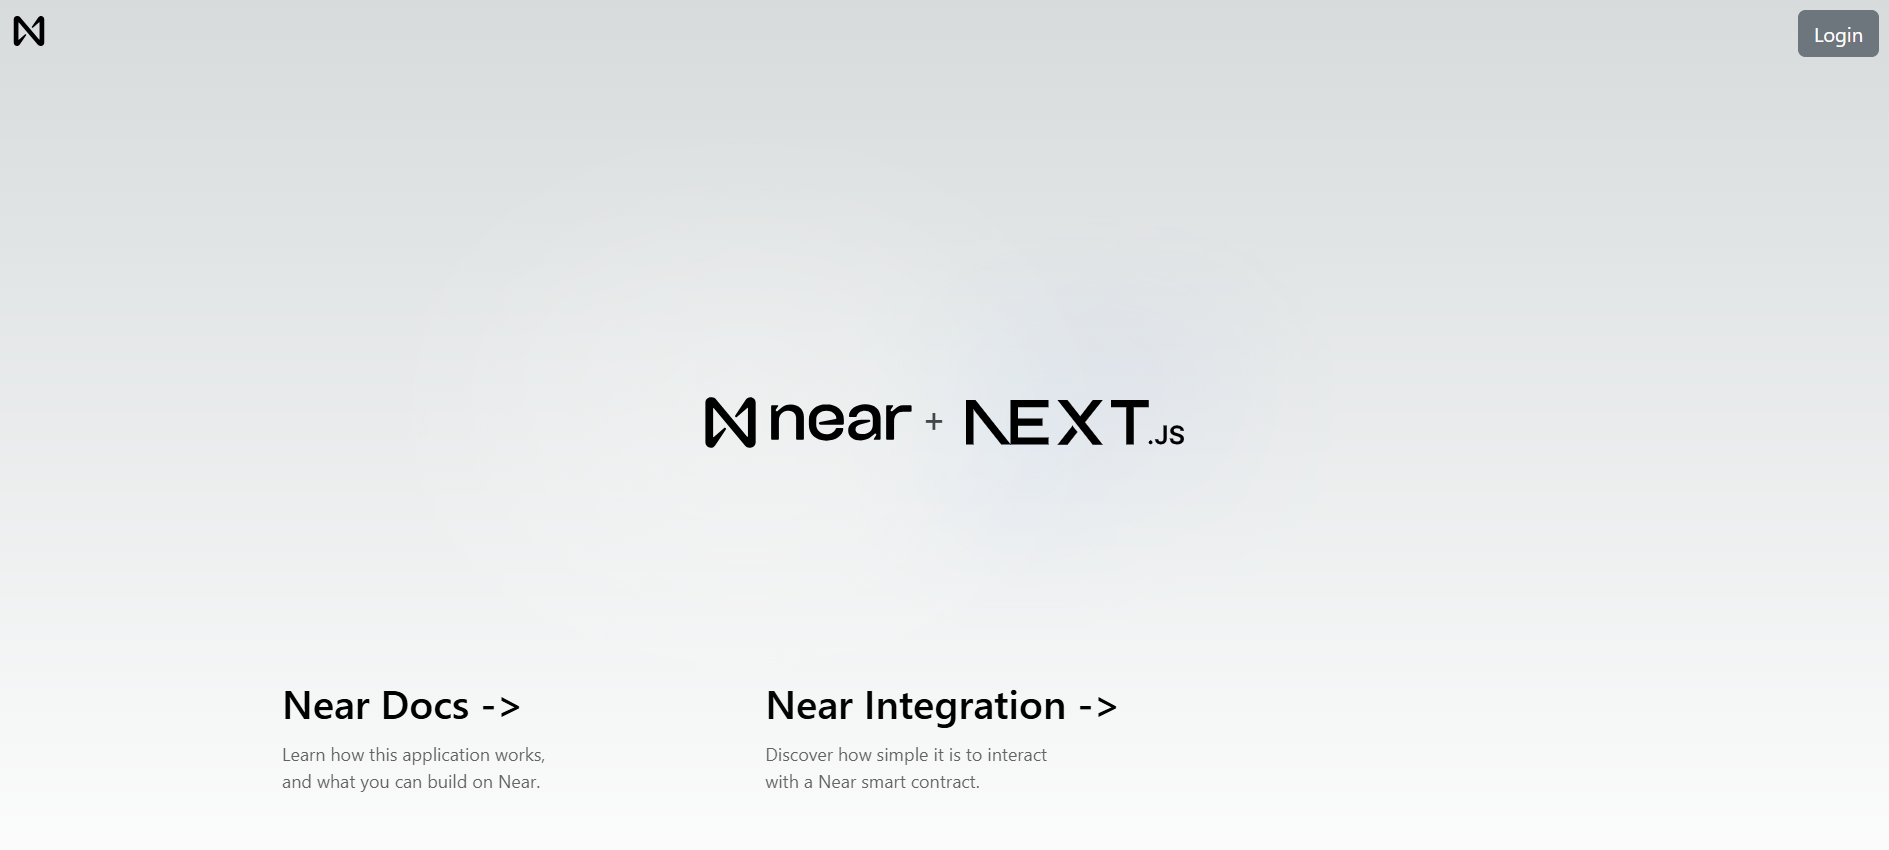 *Landing page of Hello NEAR Gateway*
Go ahead and sign in with your NEAR account. If you don't have one, you can create one on the fly.
*Landing page of Hello NEAR Gateway*
Go ahead and sign in with your NEAR account. If you don't have one, you can create one on the fly.
### Context Provider
[Next.js](https://nextjs.org/) uses a template system, where each page is a React component. Our main logic is defined at `./src/pages/_app.js`, which:
1. Creates a `NearProvider` that wraps the entire application to provide NEAR functionality
2. Renders the navigation menu and the page's content
NEAR Connect is a library that allows users to select their preferred NEAR wallet to login, our application uses **hooks** that wrap its functionality to make it easier to use
### Navigation Bar
The navigation bar implements a button to allow users to `login` and `logout` with their NEAR wallet. The main logic comes from the `useNearWallet` hook, which exposes all wallet related functionality.
***
## How Do I Call Smart Contract Functions?
Now that you understand how the landing page works, we can move to the `Near Integration` page, which retrieves a greeting from the [hello.near-examples.testnet](https://testnet.nearblocks.io/address/hello.near-examples.testnet) contract.
### Read vs. Write Operations
| Operation Type | Method | Cost | Requires Signature |
| ---------------- | -------------- | --------------------- | ------------------ |
| **Read (view)** | `viewMethod()` | Free | No |
| **Write (call)** | `callMethod()` | Gas fees (\~0.0001 Ⓝ) | Yes |
View methods query contract state without modifying it. Call methods change state and require the user to sign a transaction.
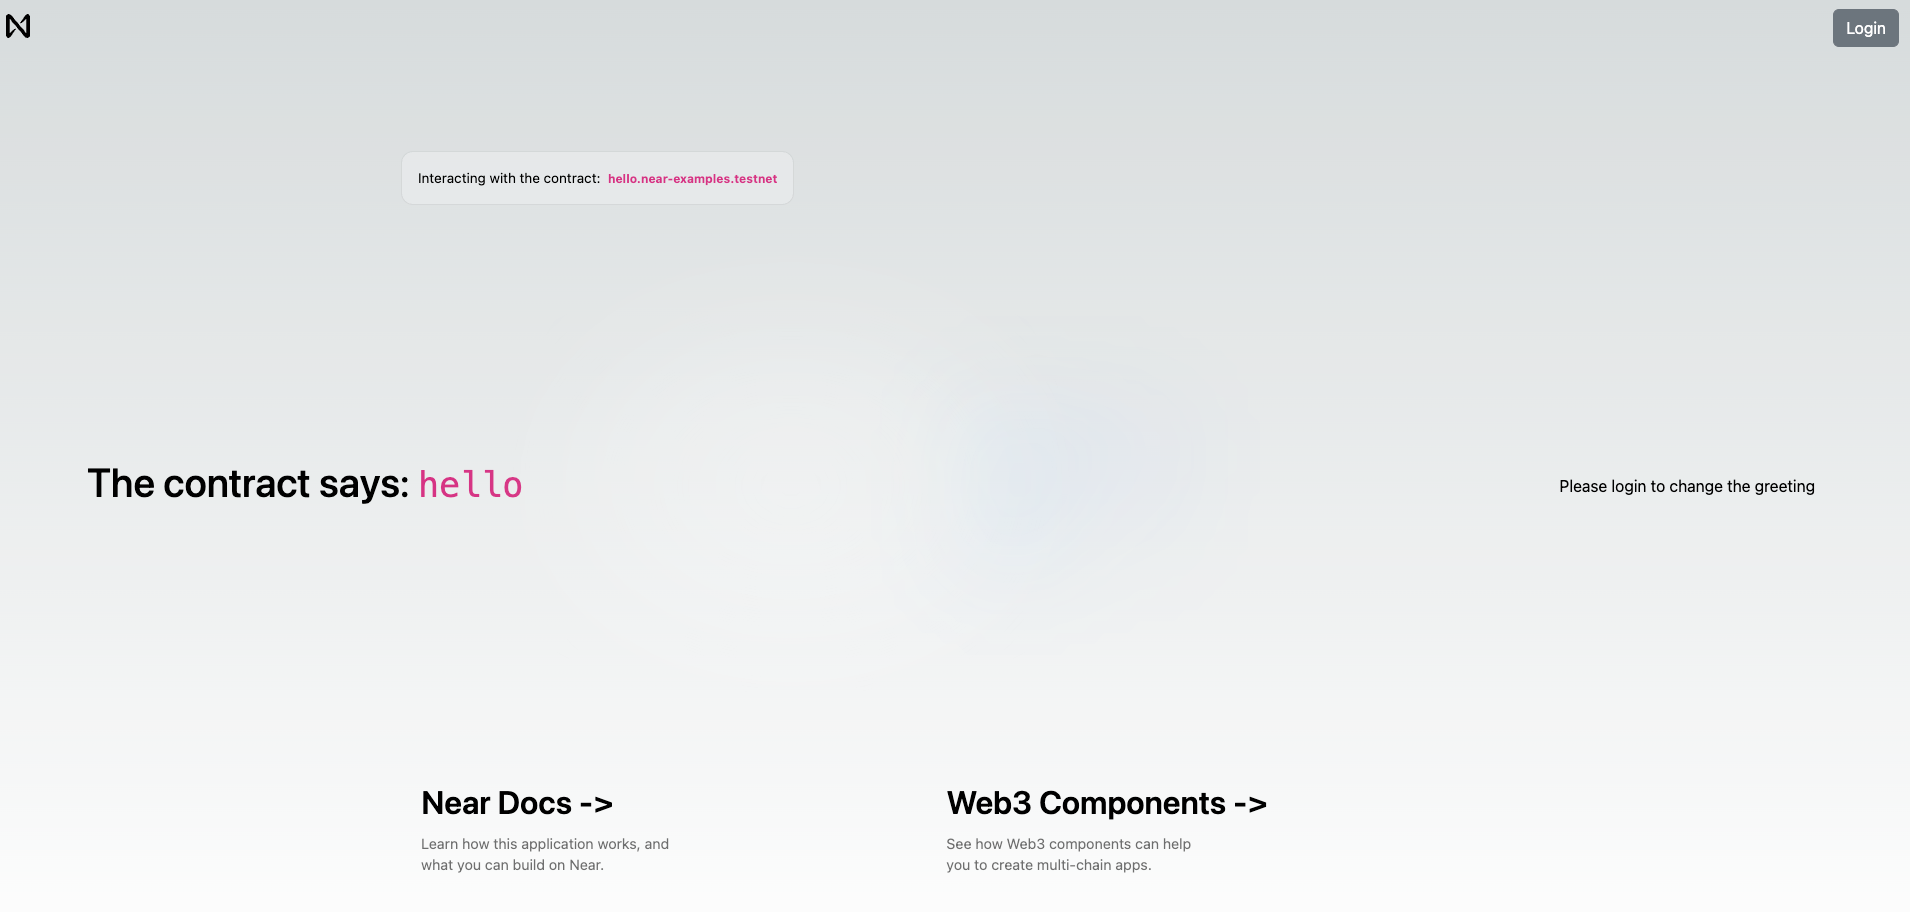 *View of the `Near Integration` page*
Login if you haven't done it yet and you will see a simple form that allows you to store a greeting in the smart contract.
*View of the `Near Integration` page*
Login if you haven't done it yet and you will see a simple form that allows you to store a greeting in the smart contract.
### Function Call Hooks
Just like the [navigation bar](#navigation-bar), we use the `useNearWallet` hook to get functions that allow us to call methods on the contract:
* `viewFunction` is used to call functions that are read-only
* `callFunction` is used to call functions that modify the state of the contract
#### Calling Read-Only Methods
For example, when we want to fetch the current greeting stored in the contract, we use `viewFunction` inside a `useEffect` hook:
#### Calling Change Methods
On the other hand, when the user submits a new greeting, we use `callFunction` to send a transaction to the contract:
***
## Common Questions
### Do users need NEAR tokens to login?
No. Wallet login is free. Users only pay gas fees when they call contract functions that modify state.
### What wallets can users connect with?
NEAR wallets (MyNearWallet, Meteor, HERE Wallet) and Ethereum wallets (Metamask, WalletConnect, Coinbase Wallet via EVM support).
### How do I avoid users signing every transaction?
Create a **function-call access key** by setting `createAccessKeyFor: ` in the wallet selector config. This allows the app to sign non-payable methods automatically.
### Can I use this with an existing React app?
Yes. Install `near-connect-hooks` and follow our [integration guide](./tutorials/wallet-login).
### Why Next.js instead of plain React?
Next.js is recommended but not required. You can use Vite/React, Vue, Svelte, or any framework. Check `create-near-app` templates for options.
***
## Moving Forward
That's it for our quickstart tutorial. You have now seen a fully functional frontend that can talk with NEAR contracts and render Web3 components.