Your First Web3 App
In this guide we will show you how to build a React app connected to NEAR, where users can login using their wallets and interact with a contract.
If you already have an application and want to integrate NEAR into it, we recommend you to first go through this guide and then check our documentation on integrating NEAR to a frontend
Template Setup
If you already have Node.js installed, you can use create-near-app to quickly setup a template:
  npx create-near-app@latest

  # ✔ What do you want to build? › Web Application
  # ✔ Select a framework for your frontend › Next.js (Classic)
  # ✔ Name your project (we will create a directory with that name) … near-template
  # ✔ Run 'npm install' now? … yes
Once the folder is ready - and all dependencies installed - you can start the development server using pnpm.
cd near-template # go to your project folder
npm run dev
Visit http://localhost:3000 in your browser to view the dApp. Note that since the dApp uses NextJS the app might take longer to load the pages on first visit.
The app is not starting?
Make sure you are using node >= v22, you can easily switch versions using nvm use 22
In this tutorial we are using the Next.js framework with the "classic" page-based routing, but you can select other frameworks such as Vite when creating the app
Landing Page
Once the app starts you will see the landing page, rendering a navigation bar that allows users to login using their NEAR wallet. You can then navigate to the docs or the Near Integration page (which we will do).
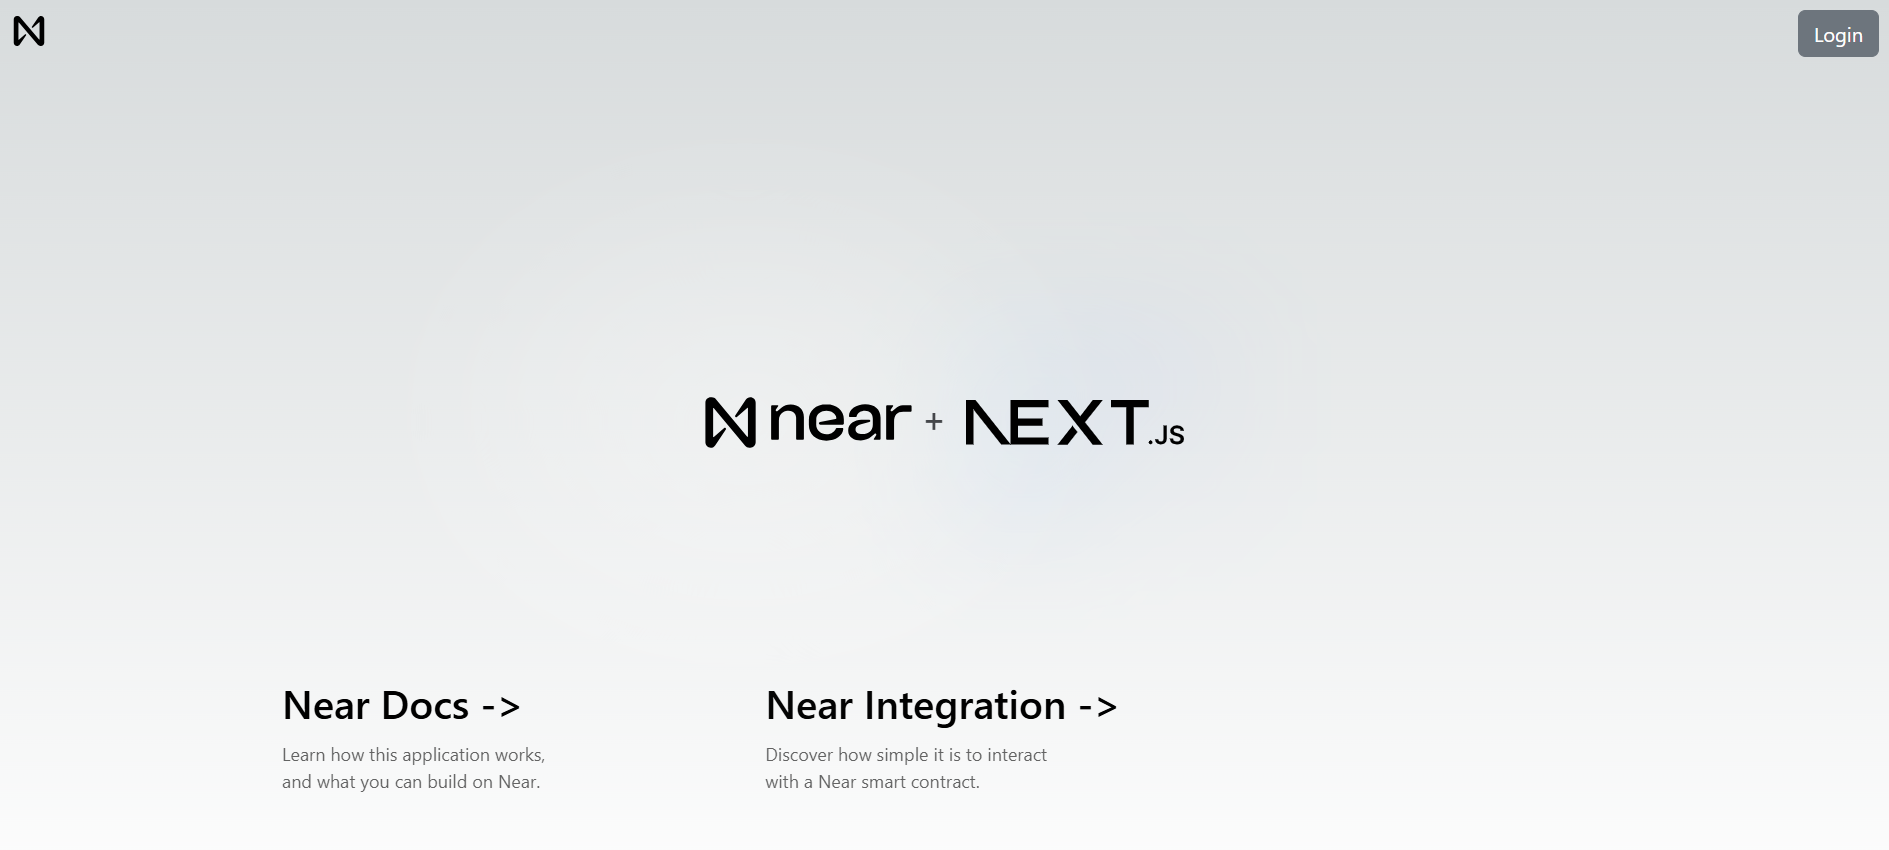 Landing page of Hello NEAR Gateway
Go ahead and sign in with your NEAR account. If you don't have one, you can create one on the fly.
Context Provider
Next.js uses a template system, where each page is a React component. Our main logic is defined at ./src/pages/_app.js, which:
- Creates a
NearProviderthat wraps the entire application to provide NEAR functionality - Renders the navigation menu and the page's content
Loading...
What is NEAR Connect Hooks?
NEAR Connect is a library that allows users to select their preferred NEAR wallet to login, our application uses hooks that wrap its functionality to make it easier to use
Navigation Bar
The navigation bar implements a button to allow users to login and logout with their NEAR wallet. The main logic comes from the useNearWallet hook, which exposes all wallet related functionality.
Loading...
How Do I Call Smart Contract Functions?
Now that you understand how the landing page works, we can move to the Near Integration page, which retrieves a greeting from the hello.near-examples.testnet contract.
Read vs. Write Operations
| Operation Type | Method | Cost | Requires Signature |
|---|---|---|---|
| Read (view) | viewMethod() | Free | No |
| Write (call) | callMethod() | Gas fees (~0.0001 Ⓝ) | Yes |
View methods query contract state without modifying it. Call methods change state and require the user to sign a transaction.
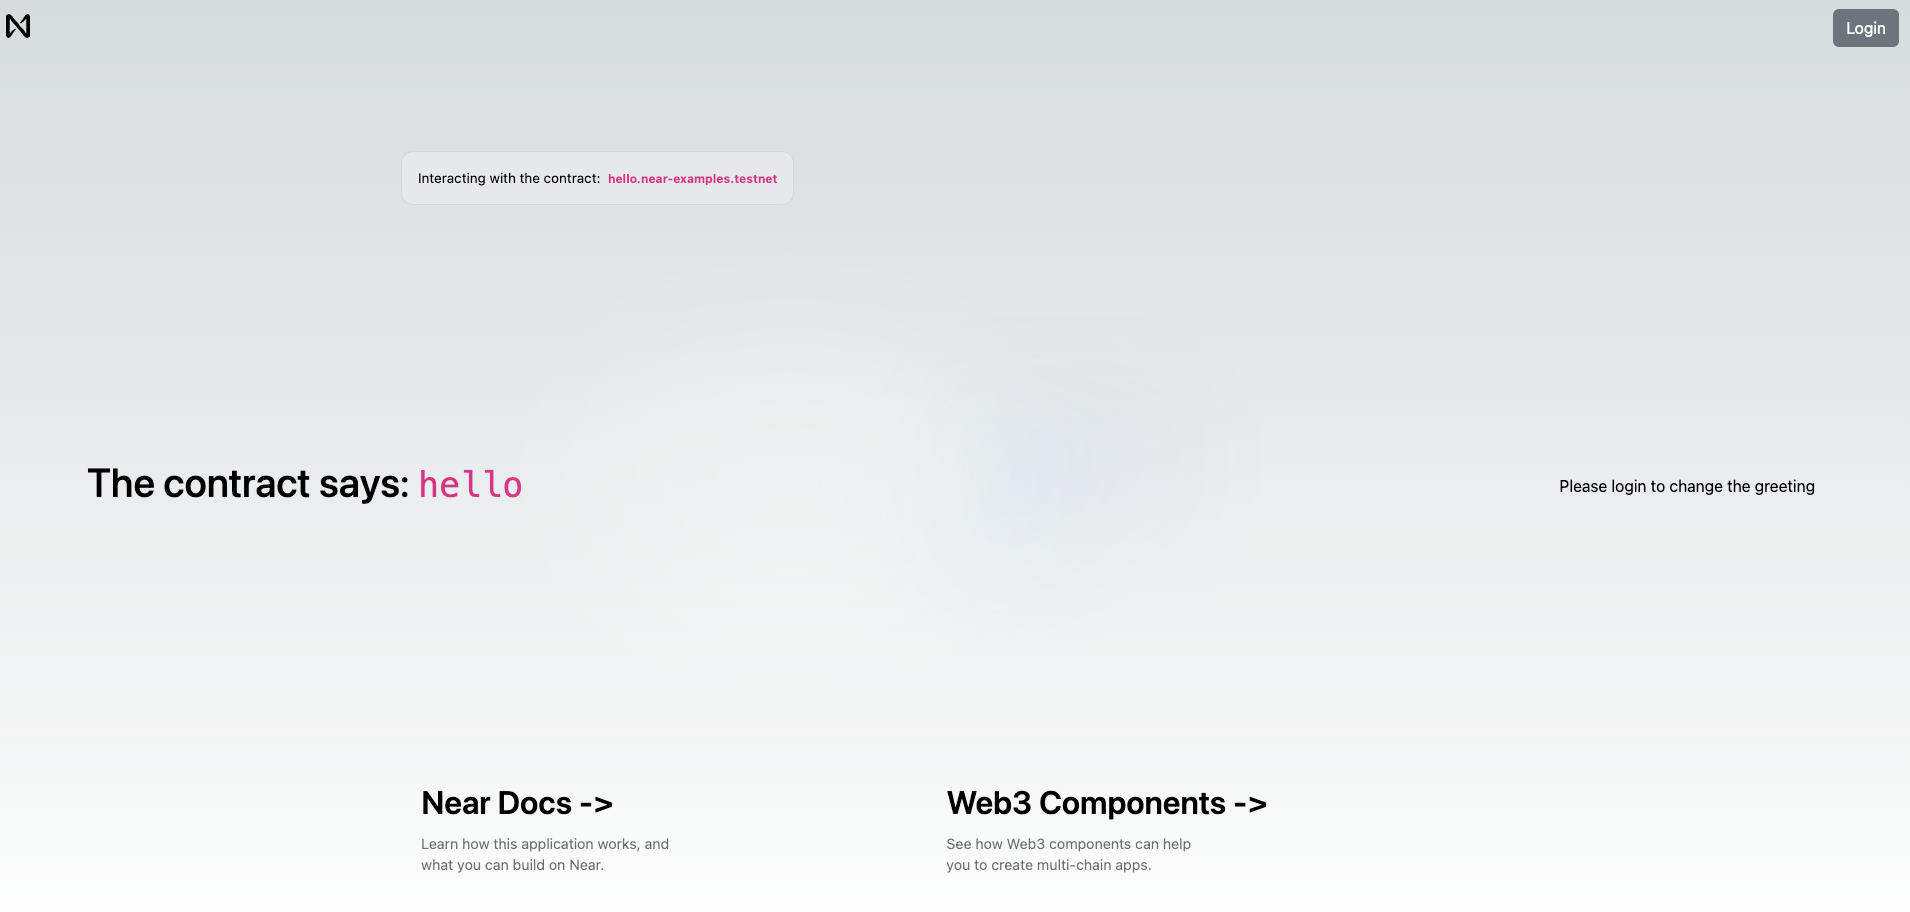 View of the
 Near Integration page
Login if you haven't done it yet and you will see a simple form that allows you to store a greeting in the smart contract.
Function Call Hooks
Just like the navigation bar, we use the useNearWallet hook to get functions that allow us to call methods on the contract:
viewFunctionis used to call functions that are read-onlycallFunctionis used to call functions that modify the state of the contract
Loading...
Calling Read-Only Methods
For example, when we want to fetch the current greeting stored in the contract, we use viewFunction inside a useEffect hook:
Loading...
Calling Change Methods
On the other hand, when the user submits a new greeting, we use callFunction to send a transaction to the contract:
Loading...
Common Questions
Do users need NEAR tokens to login?
No. Wallet login is free. Users only pay gas fees when they call contract functions that modify state.
What wallets can users connect with?
NEAR wallets (MyNearWallet, Meteor, HERE Wallet) and Ethereum wallets (Metamask, WalletConnect, Coinbase Wallet via EVM support).
How do I avoid users signing every transaction?
Create a function-call access key by setting createAccessKeyFor: <contract-name> in the wallet selector config. This allows the app to sign non-payable methods automatically.
Can I use this with an existing React app?
Yes. Install near-connect-hooks and follow our integration guide.
Why Next.js instead of plain React?
Next.js is recommended but not required. You can use Vite/React, Vue, Svelte, or any framework. Check create-near-app templates for options.
Moving Forward
That's it for our quickstart tutorial. You have now seen a fully functional frontend that can talk with NEAR contracts and render Web3 components.