Welcome! NEAR accounts can store small apps known as smart contracts. In this quick tutorial, we will guide you in creating your first contract on the NEAR testnet! Join us in creating a friendly auction contract, which allows users to place bids, track the highest bidder and claim tokens at the end of the auction.Documentation Index
Fetch the complete documentation index at: https://docs.near.org/llms.txt
Use this file to discover all available pages before exploring further.
Prefer an online IDE?
Prefer an online IDE?
Want to jump right into the code without setting up a local dev environment?Check out NEAR Playground for an easy-to-use online IDE with pre-configured templates.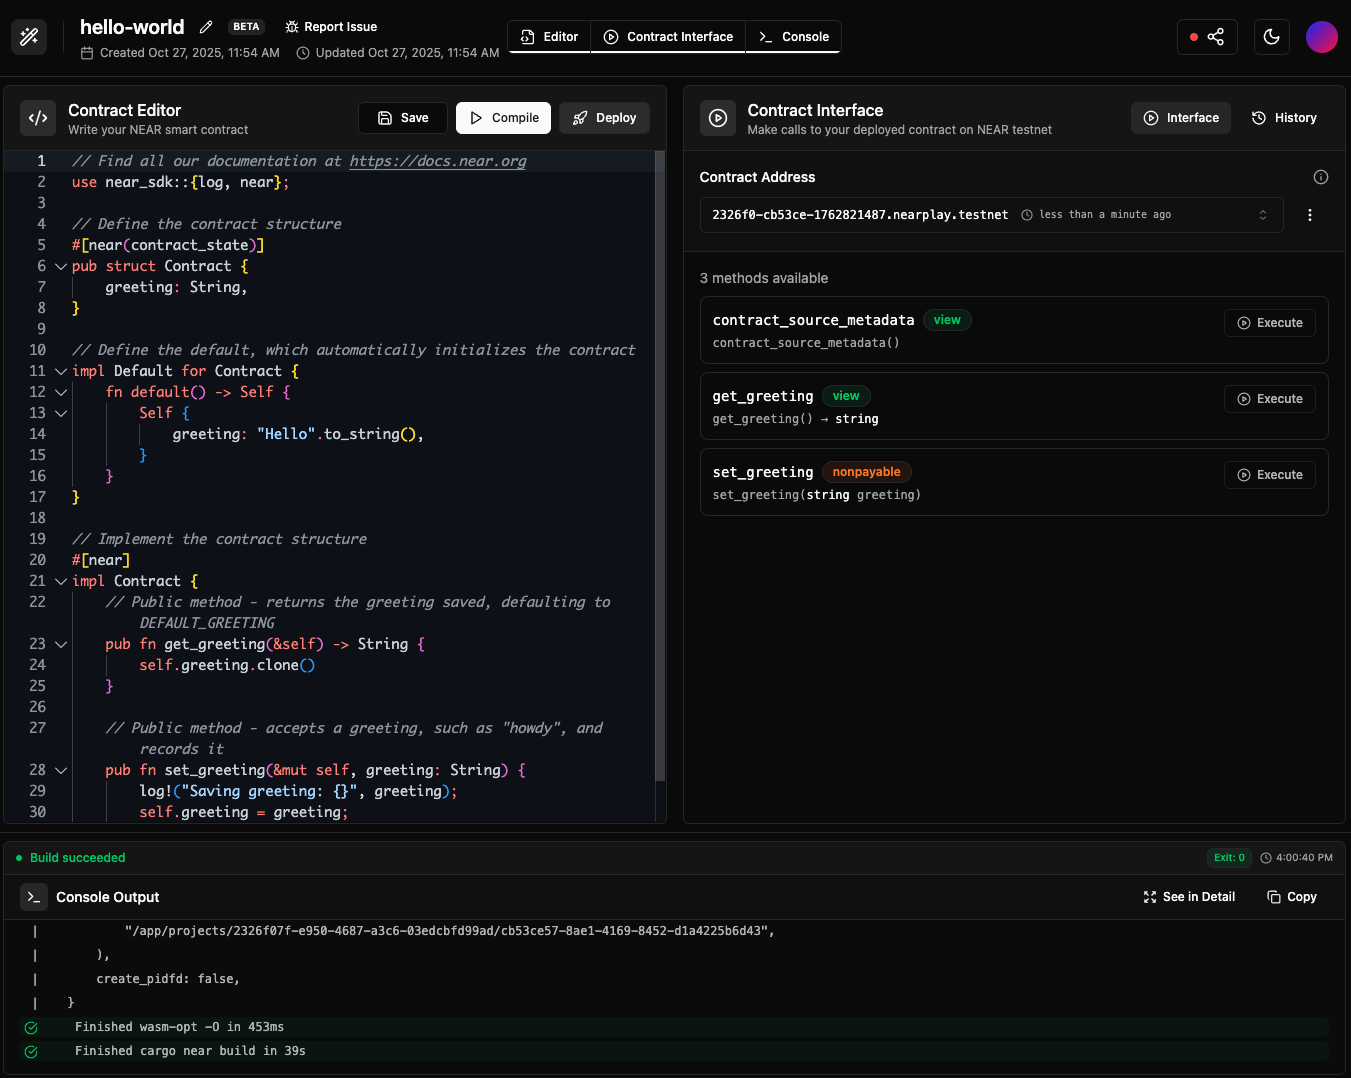

Prerequisites
Before starting, make sure to set up your development environment.- 🦀 Rust
- 🌐 JavaScript
- 🐍 Python
- 🐹 GO
Creating the Contract
Create a smart contract by using one of the scaffolding tools and following their instructions:- 🦀 Rust
- 🌐 JavaScript
- 🐍 Python
- 🐹 GO
cargo near new
Anatomy of the Contract
The auction smart contract allows users to place bids, track the highest bidder and claim tokens at the end of the auction. Let’s take a look at the different components of the contract and how they work together to implement this functionality.Contract State & Initialization
The contract stores the highest bid, auction end time, auctioneer address, and a flag to track if proceeds have been claimed. In order to set these parameters, aninit function is provided, which must be called first to initialize the contract state.
- 🦀 Rust
- 🌐 JavaScript
- 🐍 Python
- 🐹 GO
Placing Bids
In order to place a bid, users will need to call thebid function while attaching a deposit representing their bid amount.
The bid function will then validate that the auction is ongoing, if the user bid a higher amount than the one stored, it will record the new bid and refund the previous bidder.
- 🦀 Rust
- 🌐 JavaScript
- 🐍 Python
- 🐹 GO
Claiming Proceeds
Once the auction ends, any user can callclaim to transfer the winning bid to the auctioneer:
- 🦀 Rust
- 🌐 JavaScript
- 🐍 Python
- 🐹 GO
View Methods
At all times, users can query the current state of the auction by calling its view methods (get_highest_bid, get_auction_end_time, get_auctioneer, get_claimed):
- 🦀 Rust
- 🌐 JavaScript
- 🐍 Python
- 🐹 GO
Test the Contract
Lets make sure the contract is working as expected by running its tests. Simply run thetest command, the contract will then be compiled and deployed to a local sandbox for testing:
- 🦀 Rust
- 🌐 JavaScript
- 🐍 Python
- 🐹 GO
Build & Deploy the Contract
Now that we know the tests are passing, let us deploy the contract! First, we need to compile it into WebAssembly:- 🦀 Rust
- 🌐 JavaScript
- 🐍 Python
- 🐹 GO
Create an Account
Let us now create a NEAR account where we will deploy the contract:Got an error on Windows?
Got an error on Windows?
When working on
WSL - or any other headless Linux environment - you might encounter issues when trying to create an account as the cli tries to save the keys into the system’s keychain.In such cases, you can try the following command to create the account:Deploy it!
With the contract ready, we can now deploy it to thetestnet account we created earlier:
- 🦀 Rust
- 🌐 JavaScript
- 🐍 Python
- 🐹 GO
Interacting with the Contract
To interact with your deployed smart contract, you can call its functions through the command line.Initialize the Contract
Let us initialize the auction by setting when it ends and who receives the funds (the auctioneer):Place a Bid
We can now place a bid in the auction by calling thebid method while attaching some NEAR deposit. On each bid, the highest bid and bidder information will be recorded in the contract’s storage.
Note how in this case we are using the
<bidder-account.testnet> account (remember to rename it!) to call the bid function, while attaching a deposit of 0.01 NEAR as our bidGet Highest Bid
Theget_highest_bid function only reads from the contract state, so it does not require a transaction or signature:
Expected Output
Expected Output
Claim
After the auction ends, anyone can call theclaim method, which will transfer the highest bid amount to the auctioneer and end the auction.
Who won?After the auction ends, the highest bidder can be determined by simply calling the
get_highest_bid method againCommon Questions
What about mainnet?
You can deploy a contract to mainnet using the same commands, just make sure to create a mainnet account and use--networkId mainnet flag in the near CLI commands.
How much does it cost to deploy?
The cost of deploying a contract depends on the contract’s size, approximately 1Ⓝ ~100Kb.Can I update a contract after deploying?
Yes. Redeploy withnear deploy <account> <wasm-file>. The account stays the same, code updates.
Which language should I choose?
We strongly recommend Rust for production apps — it provides the most mature tooling, best performance, and strongest safety guarantees when handling real assets on-chain. If you are prototyping or learning, you can use JavaScript, Python, or Go.How do I test without deploying?
All languages support sandbox testing (shown in this guide). Tests run locally with a simulated NEAR environment.Moving Forward
Create a Frontend
Check the auction frontend tutorial to learn how to build a simple web app that interacts with the auction contract
Extend the Contract
Follow the auction NFT tutorial to award the highest bidder a Non-Fungible Token (NFT) and allow users to bid using Fungible Tokens (FT)
Learn More about the SDK
Check our Anatomy of a Contract page to understand the different components that make up a NEAR smart contract
Versioning for this article
Versioning for this article
At the time of this writing, this example works with the following versions:
- node:
22.18.0 - rustc:
1.86.0 - near-cli-rs:
0.22.0 - cargo-near:
0.16.1 - Python:
3.13 - near-sdk-py:
0.7.3 - uvx nearc:
0.9.2 - emscripten:
4.0.9(required for Python contracts) - Go:
1.25.4 - near-go (near-cli-go):
v0.1.1 - near-sdk-go:
v0.1.1