Wallet Selector Tutorial
Allowing your users to connect with their favorite wallet and interact with your dApp is a crucial step in building web3 applications. This guide will help you to integrate the Wallet Selector into your frontend, enabling users to sign-in and perform transactions using their NEAR wallet.
To see a fully working example, check our Hello NEAR Example, a simple app that allows users to set and get a greeting message on the NEAR blockchain
Check other options to let users login into your application and use NEAR accounts in the Web Login section
Adding the Wallet Selector
To start, you will need to add the Wallet Selector and its dependencies to your project.
If you prefer to explore the complete code example, you can check the hello-near-example repository:
npm install \
  @near-wallet-selector/modal-ui \
  @near-wallet-selector/bitget-wallet \
  @near-wallet-selector/coin98-wallet \
  @near-wallet-selector/ethereum-wallets \
  @near-wallet-selector/hot-wallet \
  @near-wallet-selector/intear-wallet \
  @near-wallet-selector/ledger \
  @near-wallet-selector/math-wallet \
  @near-wallet-selector/meteor-wallet \
  @near-wallet-selector/meteor-wallet-app \
  @near-wallet-selector/near-mobile-wallet \
  @near-wallet-selector/okx-wallet \
  @near-wallet-selector/ramper-wallet \
  @near-wallet-selector/sender \
  @near-wallet-selector/unity-wallet \
  @near-wallet-selector/welldone-wallet
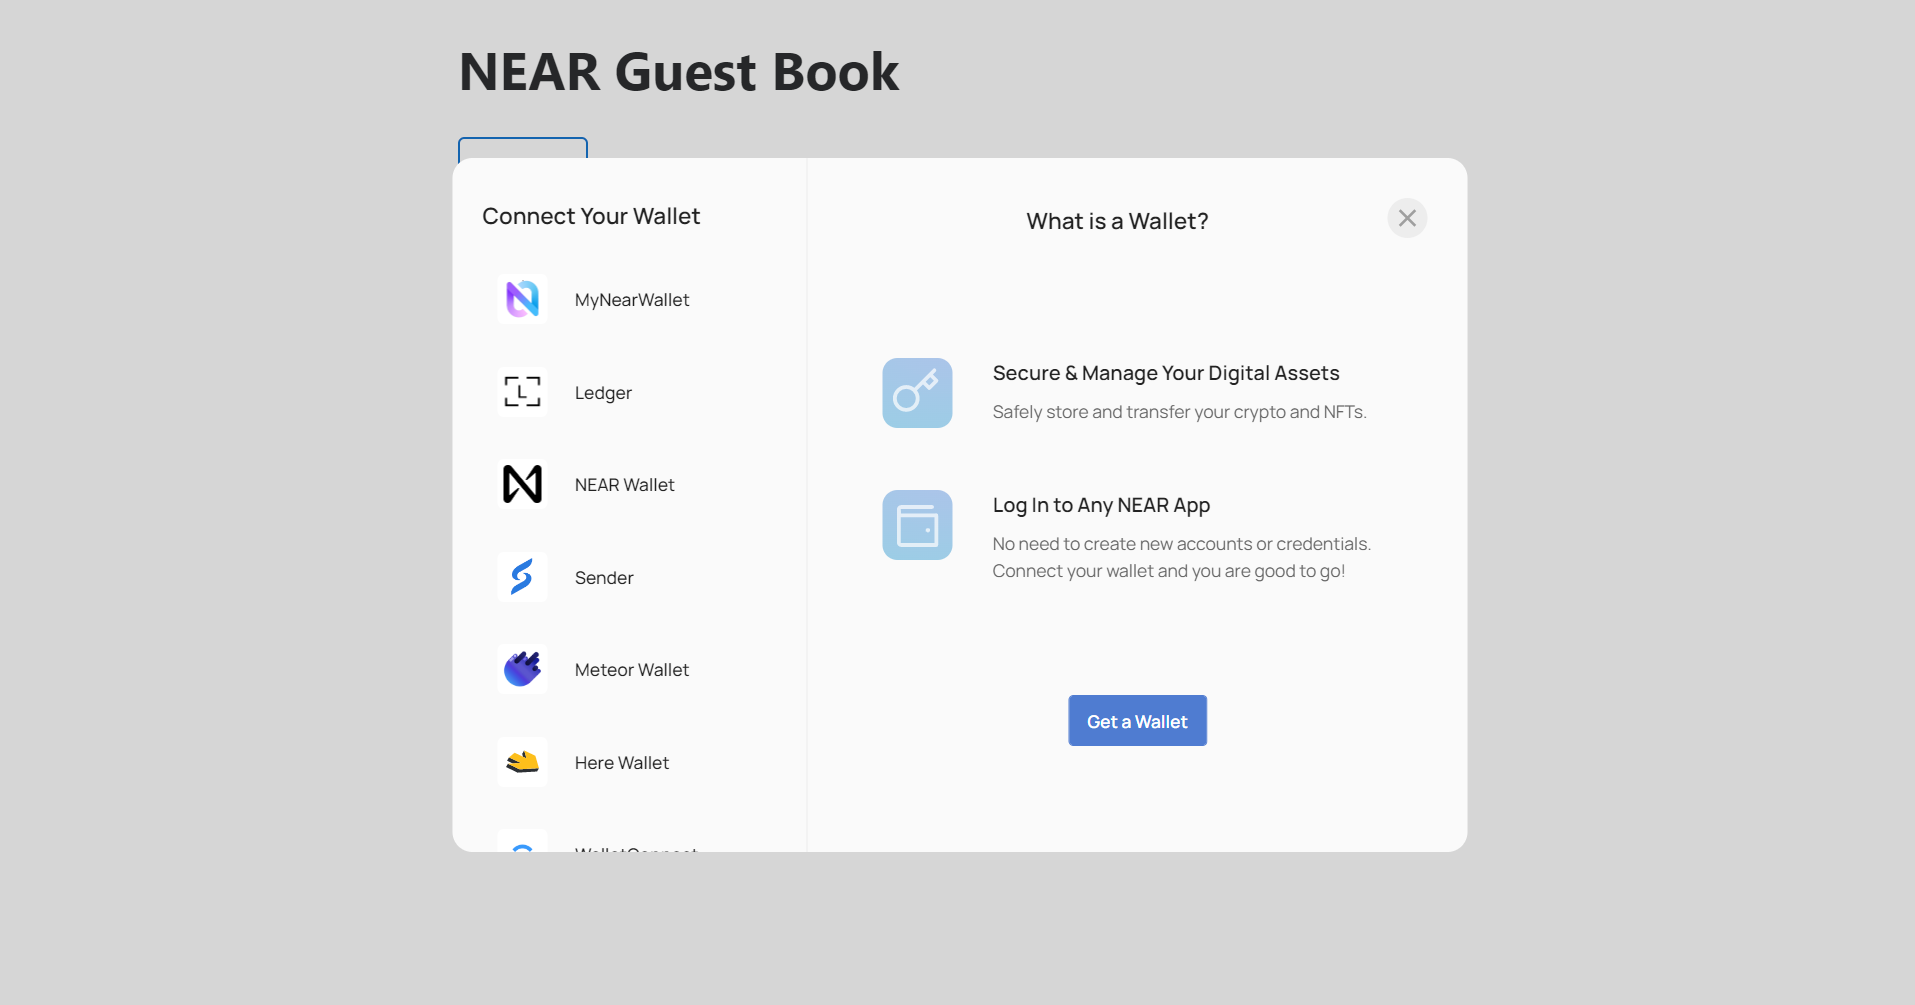
Notice that the wallet selector implements multiple wallet packages to select from, see the full list on the Repo
Initialize the Selector
To initialize the wallet selector, you will need to set it up in your main application file (e.g., app.js or index.js). You can choose which wallets to include in the selector by importing their respective setup functions and adding them to the modules array.
Loading...
Custom RPC
If you want to use a user-defined RPC endpoint with the Wallet Selector, you can set up a network options object with the custom URLs. For example:
const my_network = {
  networkId: "my-custom-network",
  nodeUrl: "https://rpc.custom-rpc.com",
  helperUrl: "https://helper.custom-helper.com",
  explorerUrl: "https://custom-explorer.com",
  indexerUrl: "https://api.custom-indexer.com",
};
Creating an Access Key
If you instantiated the wallet-selector passing an account id for the createAccessKeyFor parameter, then the wallet will create a Function-Call Key and store it in the web's local storage.
Loading...
By default, such key enables to expend a maximum of 0.25Ⓝ on GAS calling methods in the specified contract without prompting the user to sign them.
If, on the contrary, you do not create an access key, then the user will be asked to sign every single transaction (except calls to view methods, since those are always free).
Please notice that this only applies to non-payable methods, if you attach deposit to any call the user will always be redirected to the wallet to confirm the transaction.
Calling View Methods
Once the wallet-selector is up, we can start calling view methods, i.e., the methods that perform read-only operations.
Because of their read-only nature, view methods are free to call, and do not require the user to be logged in. To make a view call, you simply need to import the viewFunction from the wallet selector hooks:
Loading...
Then, you can call any view method from any contract by providing the contractId, methodName, and arguments (args):
Loading...
Under the hood, viewFunction is actually making a direct call to the RPC using near-api-js.
View methods have by default 200 TGAS for execution
User Sign-In / Sign-Out
In order to interact with methods that modify data or make cross-contract calls it is necessary for the user to first sign in using a NEAR wallet.
We can request the user sign in if signedAccountId is not present, the same simplicity applies to signing out.
Loading...
By assigning the signIn action to a button, when the user clicks it, the wallet selector modal will open:
<button onClick={action}>{label}</button>
Calling Change Methods
Once the user logs in they can start calling change methods. Programmatically, calling change methods is similar to calling view methods, only that now you can attach deposit to the call, and specify how much GAS you want to use.
Loading...
Under the hood, we are asking the signedAccountId to sign a Function-Call transaction for us.
Remember that you can use the callFunction to call methods in any contract. If you did not ask for a function call key to be created, the user will simply be prompted to confirm the transaction.
Sending Multiple Transactions
The wallet-selector hook also exposes a method that can be used to send multiple transactions at once:
const { signAndSendTransactions } = useWalletSelector();

const txs = await signAndSendTransactions({
    transactions: [{
        receiverId: "hello.near-examples.testnet",
        actions: [{
            type: "FunctionCall",
            params: {
                methodName: "set_greeting",
                args: {
                    greeting: "Hello World"
                },
                gas: THIRTY_TGAS,
                deposit: NO_DEPOSIT
            }
        }]
    }]
});
Transactions can either be sent as multiple separate transactions simultaneously or as a batch transaction made up of actions where if one of the actions fails, they are all reverted.
An example of both can be seen here.
Querying Account Balance
By calling the getBalance method the user can get the balance of a given account.
const { getBalance } = useWalletSelector();

const balance = await getBalance("account.testnet");
Get Access Keys
The final method the wallet selector hooks exposes is getAccessKeys, which is used to return an object of all the access keys on the account that is currently logged in.
const { getAccessKeys } = useWalletSelector();

const keys = await getAccessKeys("account.testnet");
:::
At the time of this writing, this example works with the following versions:
- next:
15.0.3 - near-api-js:
^5.0.1 - wllet-selector/core:
^8.10.0