컨트랙트 수정
이 섹션에서는 이전 섹션의 스마트 컨트랙트 뼈대를 수정합니다. 이 튜토리얼은 기본을 학습하기 위해, 다소 쓸데없는 방식으로 컨트랙트를 작성하는 것부터 시작합니다. 이를 확실하게 이해하면, 십자말풀이가 나올 때까지 이를 반복할 것입니다.
상수, 필드, 함수 추가
컨트랙트를 다음과 같이 수정하겠습니다.
Loading...
We've done a few things here:
- 퍼즐 번호에 대한 상수를 설정합니다.
- 메인 구조체에
crossword_solution필드를 추가했습니다. - 세 가지 함수를 구현했습니다. 하나는 보기 전용이고, 두 개는 상태를 변경할 수 있는 함수입니다.
- 로깅을 사용했습니다. 이는
near_sdk크레이드에서env를 가져오는 데에 필요합니다.
Before moving on, let's talk about these changes and how to think about them, beginning with the constant:
const PUZZLE_NUMBER: u8 = 1;
This is an in-memory value, meaning that when the smart contract is spun up and executed in the virtual machine, the value 1 is contained in the contract code. This differs from the next change, where a field is added to the struct containing the #[near] macro. The field crossword_solution has the type of String and, like any other fields added to this struct, the value will live in persistent storage. With NEAR, storage is "paid for" via the native NEAR token (Ⓝ). It is not "state rent" but storage staking, paid once, and returned when storage is deleted. This helps incentivize users to keep their state clean, allowing for a more healthy chain. Read more about storage staking here.
Let's now look at the three new functions:
pub fn get_puzzle_number(&self) -> u8 {
    PUZZLE_NUMBER
}
As is covered in the function section of these docs, a "view-only" function will have open parenthesis around &self while "change methods" or mutable functions will have &mut self. In the function above, the PUZZLE_NUMBER is returned. A user may call this method using the proper RPC endpoint without signing any transaction, since it's read-only. Think of it like a GET request, but using RPC endpoints that are documented here.
Mutable functions, on the other hand, require a signed transaction. The first example is a typical approach where the user supplies a parameter that's assigned to a field:
pub fn set_solution(&mut self, solution: String) {
    self.crossword_solution = solution;
}
The next time the smart contract is called, the contract's field crossword_solution will have changed.
The second example is provided for demonstration purposes:
pub fn guess_solution(&mut self, solution: String) {
    if solution == self.crossword_solution {
        env::log_str("You guessed right!")
    } else {
        env::log_str("Try again.")
    }
}
Notice how we're not saving anything to state and only logging? Why does this need to be mutable?
Well, logging is ultimately captured inside blocks added to the blockchain. (More accurately, transactions are contained in chunks and chunks are contained in blocks. More info in the Nomicon spec.) So while it is not changing the data in the fields of the struct, it does cost some amount of gas to log, requiring a signed transaction by an account that pays for this gas.
구축 및 배포
Here's what we'll want to do:
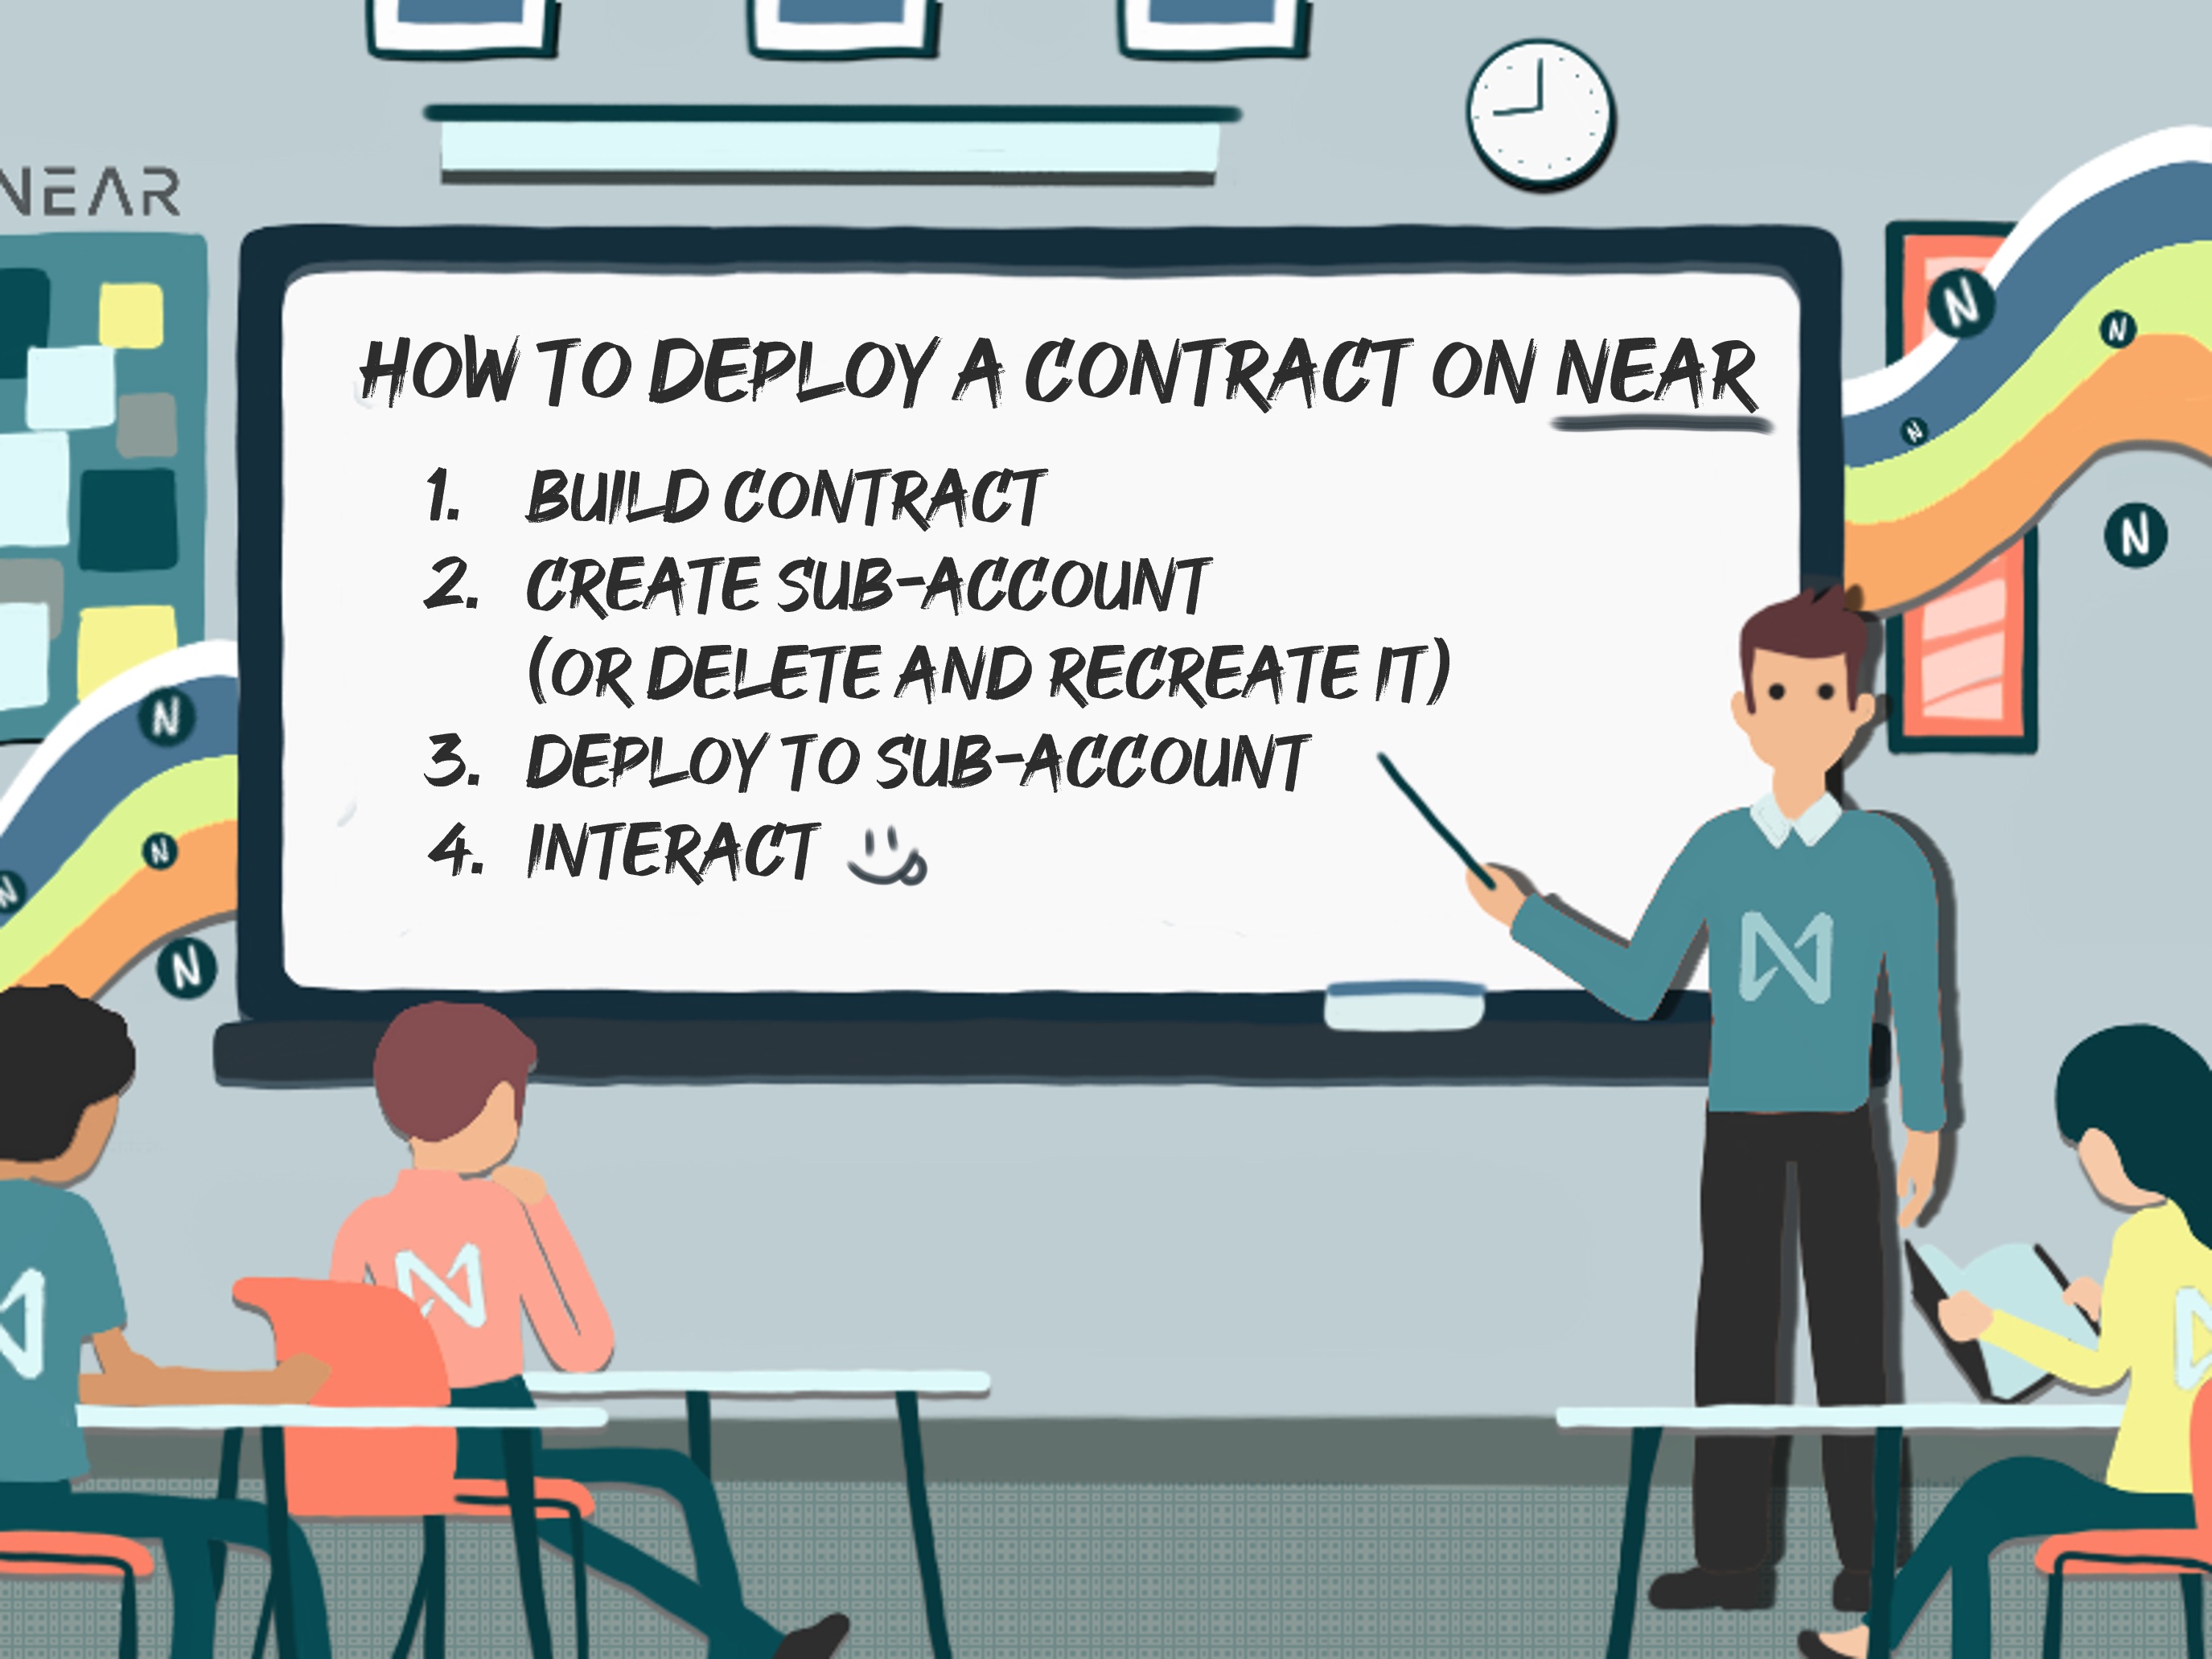
컨트랙트 구축
To build the contract, we'll be using cargo-near.
Install cargo-near first:
cargo install cargo-near
Run the following commands and expect to see the compiled Wasm file copied to the target/near folder.
cd contract
cargo near build
하위 계정(subaccount) 생성
If you've followed from the previous section, you have NEAR CLI installed and a full-access key on your machine. While developing, it's a best practice to create a subaccount and deploy the contract to it. This makes it easy to quickly delete and recreate the subaccount, which wipes the state swiftly and starts from scratch. Let's use NEAR CLI to create a subaccount and fund with 1 NEAR:
near account create-account fund-myself crossword.friend.testnet '1 NEAR' autogenerate-new-keypair save-to-legacy-keychain sign-as friend.testnet network-config testnet sign-with-legacy-keychain send
If you look again in your home directory's .near-credentials, you'll see a new key for the subaccount with its own key pair. This new account is, for all intents and purposes, completely distinct from the account that created it. It might as well be alice.testnet, as it has, by default, no special relationship with the parent account. To be clear, friend.testnet cannot delete or deploy to crossword.friend.testnet unless it's done in a single transaction using Batch Actions, which we'll cover later.
another.crossword.friend.testnet, but this account must be created by crossword.friend.testnet.friend.testnet cannot create another.crossword.friend.testnet because accounts may only create a subaccount that's "one level deeper."
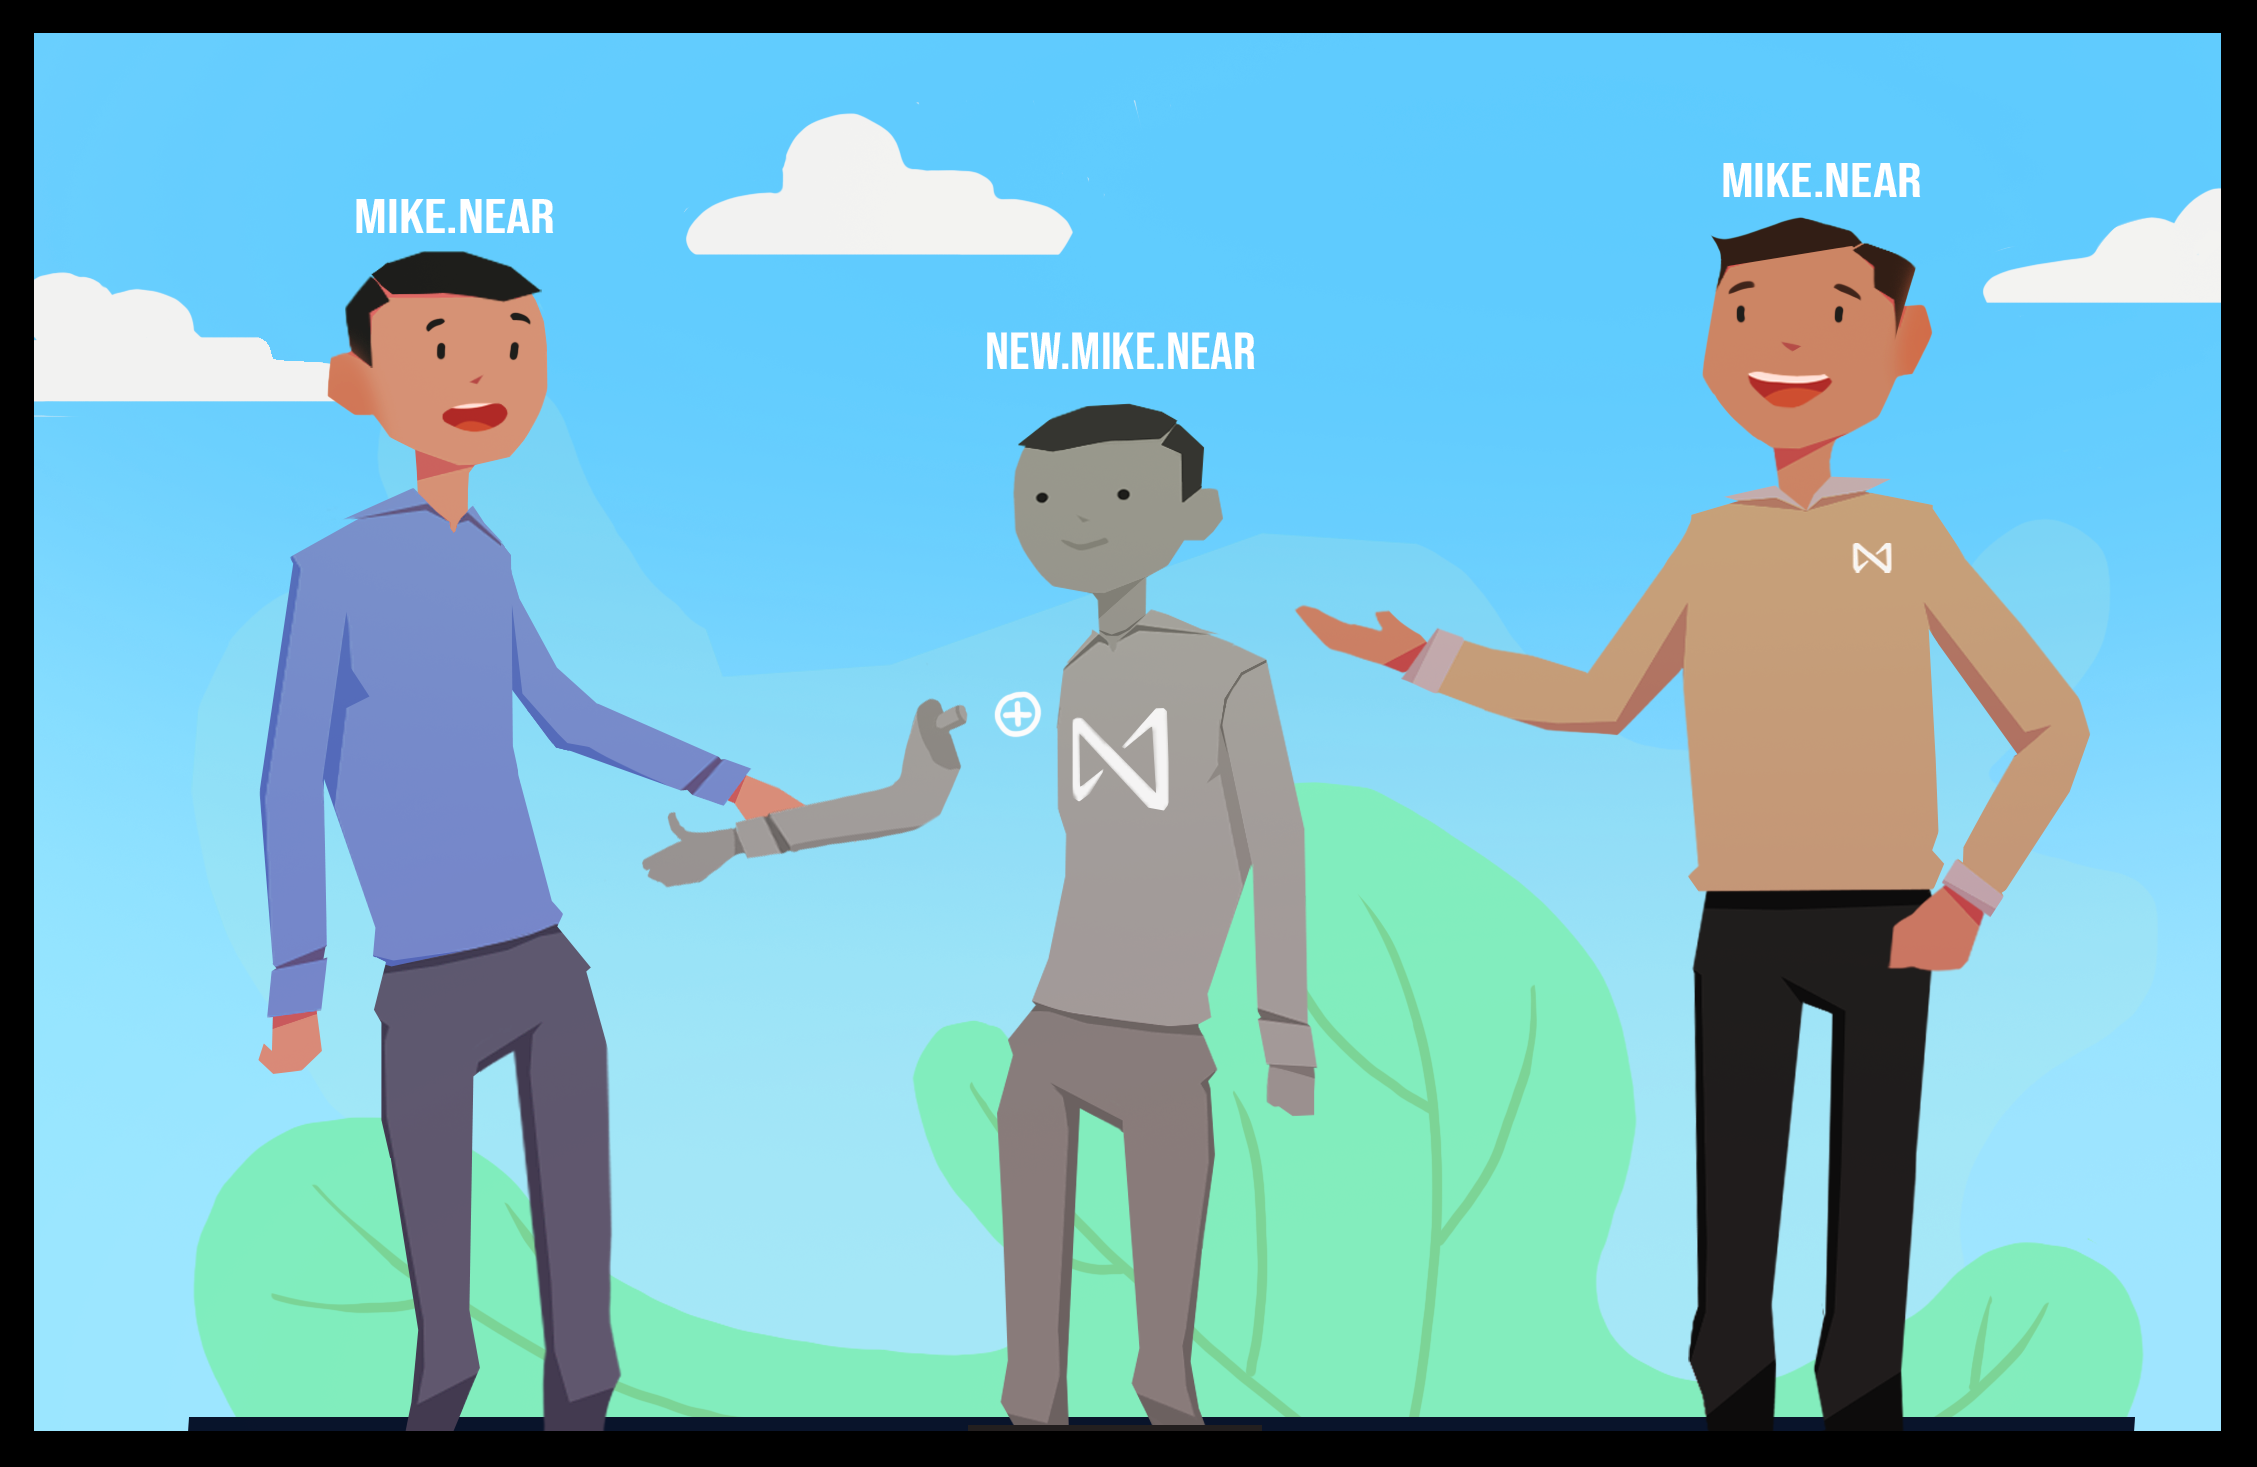
See this visualization where two keys belonging to mike.near are able to create new.mike.near. We'll get into concepts around access keys later.
We won't get into top-level accounts or implicit accounts, but you may read more about that here.
Now that we have a key pair for our subaccount, we can deploy the contract to testnet and interact with it!
코드해시란 무엇인가요?
We're almost ready to deploy the smart contract to the account, but first let's take a look at the account we're going to deploy to. Remember, this is the subaccount we created earlier. To view the state easily with NEAR CLI, you may run this command:
near account view-account-summary crossword.friend.testnet network-config testnet now
What you'll see is something like this:
------------------------------------------------------------------------------------------
 crossword.friend.testnet         At block #167331831
                                  (Evjnf29LuqFE7FUf97VQZzNfnUgPFLNyyiUk9qr4Wjri)
------------------------------------------------------------------------------------------
 Native account balance           10.01 NEAR
------------------------------------------------------------------------------------------
 Validator stake                  0 NEAR
------------------------------------------------------------------------------------------
 Storage used by the account      182 B
------------------------------------------------------------------------------------------
 Contract (SHA-256 checksum hex)  No contract code
------------------------------------------------------------------------------------------
 Access keys                      1 full access keys and 0 function-call-only access keys
------------------------------------------------------------------------------------------
Note the Contract SHA-256 checksum is missing. This indicates that there is no contract deployed to this account.
Let's deploy the contract (to the subaccount we created) and then check this again.
컨트랙트 배포
Ensure that in your command line application, you're in the directory that contains the Cargo.toml file, then run:
cargo near deploy crossword.friend.testnet without-init-call network-config testnet sign-with-legacy-keychain send
Congratulations, you've deployed the smart contract! Note that NEAR CLI will output a link to NEAR Explorer where you can inspect details of the transaction.
Lastly, let's run this command again and notice that the Contract has a SHA-256 checksum. This is the hash of the smart contract deployed to the account.
near account view-account-summary crossword.friend.testnet network-config testnet now
Deploying a contract is often done on the command line. While it may be technically possible to deploy via a frontend, the CLI is likely the best approach. If you're aiming to use a factory model, (where a smart contract deploys contract code to a subaccount) this isn't covered in the tutorial, but you may reference the contracts in SputnikDAO.
컨트랙트 메서드 호출 (interact!)
Let's first call the method that's view-only:
near contract call-function as-read-only crossword.friend.testnet get_puzzle_number json-args {} network-config testnet now
Your command prompt will show the result is 1. Since this method doesn't take any arguments, we don't pass any.
Next, we'll add a crossword solution as a string (later we'll do this in a better way) argument:
near contract call-function as-transaction crossword.friend.testnet set_solution json-args '{"solution": "near nomicon ref finance"}' prepaid-gas '100.0 Tgas' attached-deposit '0 NEAR' sign-as friend.testnet network-config testnet sign-with-legacy-keychain send
Note that we used NEAR CLI's view command, and didn't include an --accountId flag. As mentioned earlier, this is because we are not signing a transaction. This second method uses the NEAR CLI call command which does sign a transaction and requires the user to specify a NEAR account that will sign it, using the credentials files we looked at.
The last method we have will check the argument against what is stored in state and write a log about whether the crossword solution is correct or incorrect.
Correct:
near contract call-function as-transaction crossword.friend.testnet guess_solution json-args '{"solution": "near nomicon ref finance"}' prepaid-gas '100.0 Tgas' attached-deposit '0 NEAR' sign-as friend.testnet network-config testnet sign-with-legacy-keychain send
You'll see something like this:

Notice the log we wrote is output as well as a link to NEAR Explorer.
Incorrect:
near contract call-function as-transaction crossword.friend.testnet guess_solution json-args '{"solution": "wrong answers here"}' prepaid-gas '100.0 Tgas' attached-deposit '0 NEAR' sign-as friend.testnet network-config testnet sign-with-legacy-keychain send
As you can imagine, the above command will show something similar, except the logs will indicate that you've given the wrong solution.
계정 컨트랙트 및 상태 리셋
We'll be iterating on this smart contract during this tutorial, and in some cases it's best to start fresh with the NEAR subaccount we created. The pattern to follow is to delete the account (sending all remaining testnet Ⓝ to a recipient) and then create the account again.
Animation by iambon.near
Using NEAR CLI, the commands will look like this:
near account delete-account crossword.friend.testnet beneficiary friend.testnet network-config testnet sign-with-legacy-keychain send
near account create-account fund-myself crossword.friend.testnet '1 NEAR' autogenerate-new-keypair save-to-legacy-keychain sign-as friend.testnet network-config testnet sign-with-legacy-keychain send
The first command deletes crossword.friend.testnet and sends the rest of its NEAR to friend.testnet.
마무리
So far, we're writing a simplified version of smart contract and approaching the crossword puzzle in a novice way. Remember that blockchain is an open ledger, meaning everyone can see the state of smart contracts and transactions taking place.
view_state and see for yourself. Note: this quick example serves as demonstration purposes, but note that the string being returned is Borsh-serialized and contains more info than just the letters. curl -d '{"jsonrpc": "2.0", "method": "query", "id": "see-state", "params": {"request_type": "view_state", "finality": "final", "account_id": "crossword.friend.testnet", "prefix_base64": ""}}' -H 'Content-Type: application/json' https://rpc.testnet.near.org
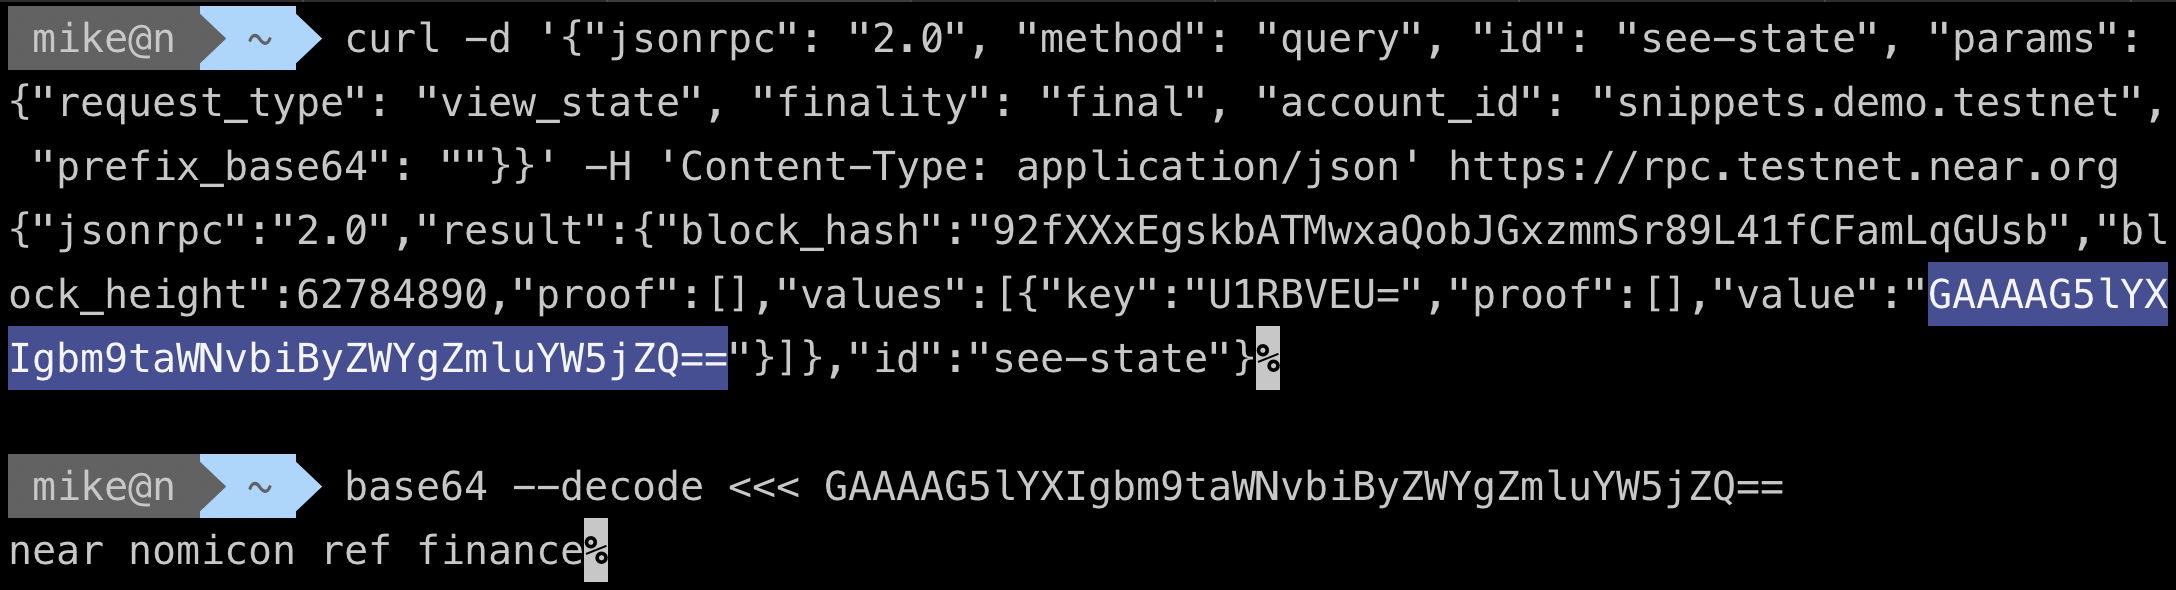
More on this RPC endpoint in the NEAR docs. :::
In this section, we saved the crossword solution as plain text, which is likely not a great idea if we want to hide the solution to players of this crossword puzzle. Even though we don't have a function called show_solution that returns the struct's crossword_solution field, the value is stored transparently in state. We won't get into viewing contract state at this moment, but know it's rather easy and documented here.
The next section will explore hiding the answer from end users playing the crossword puzzle.