QueryAPI Indexing Example
With QueryAPI you can quickly create your own indexer by:
- Writing your own custom indexer function;
- Specifying the schema for your own custom hosted database and write to it with your indexer function;
- Retrieving that data through a GraphQL API.
You can watch a complete video walkthrough of Query API following this link.
NEAR QueryAPI is currently under development. Users who want to test-drive this solution need to be added to the allowlist before creating or forking QueryAPI indexers.
You can request access through this link.
How it Works
QueryAPI works by:
- Writing the indexer name to the blockchain, registering its creation;
- Creating the tables as specified in the schema to the GraphQL database, exposing a GraphQL endpoint to query the data;
- Spinning up a cloud process that runs your indexer function, writing to the GraphQL database;
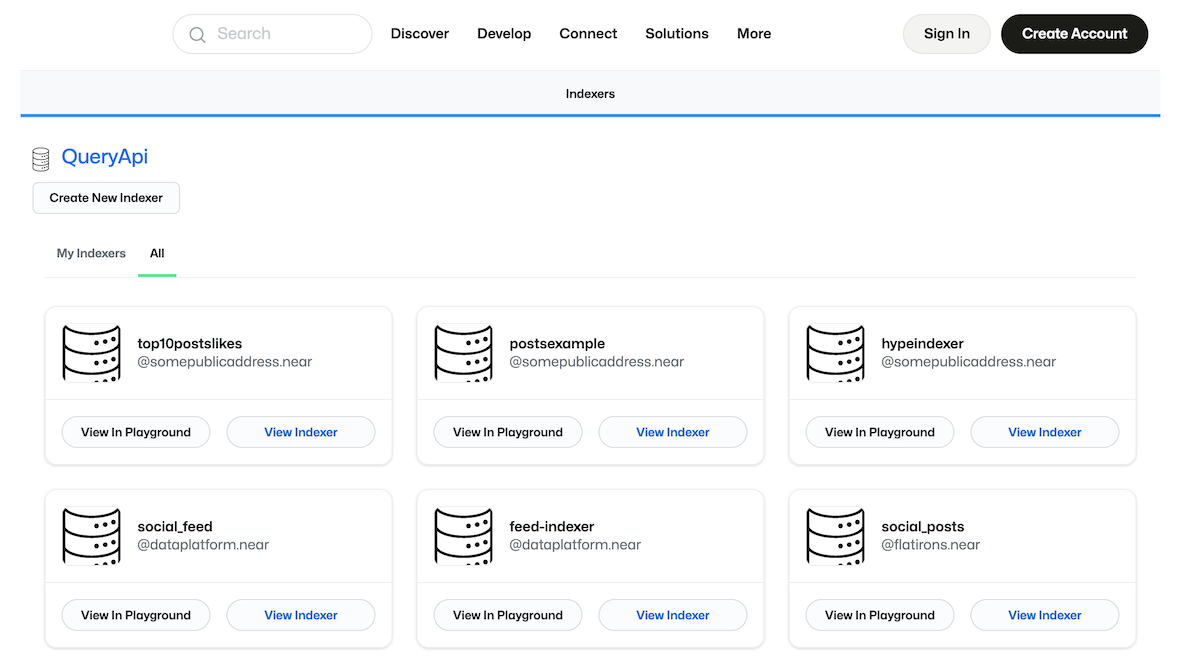
You can access the NEAR QueryAPI by following this link.
This should take you to a dashboard that looks like this:
Tip: Watch the QueryAPI widget introduction.
Creating an Indexer
Clicking on "Create New Indexer" will redirect you in-browser to a Component code editor that looks like this:
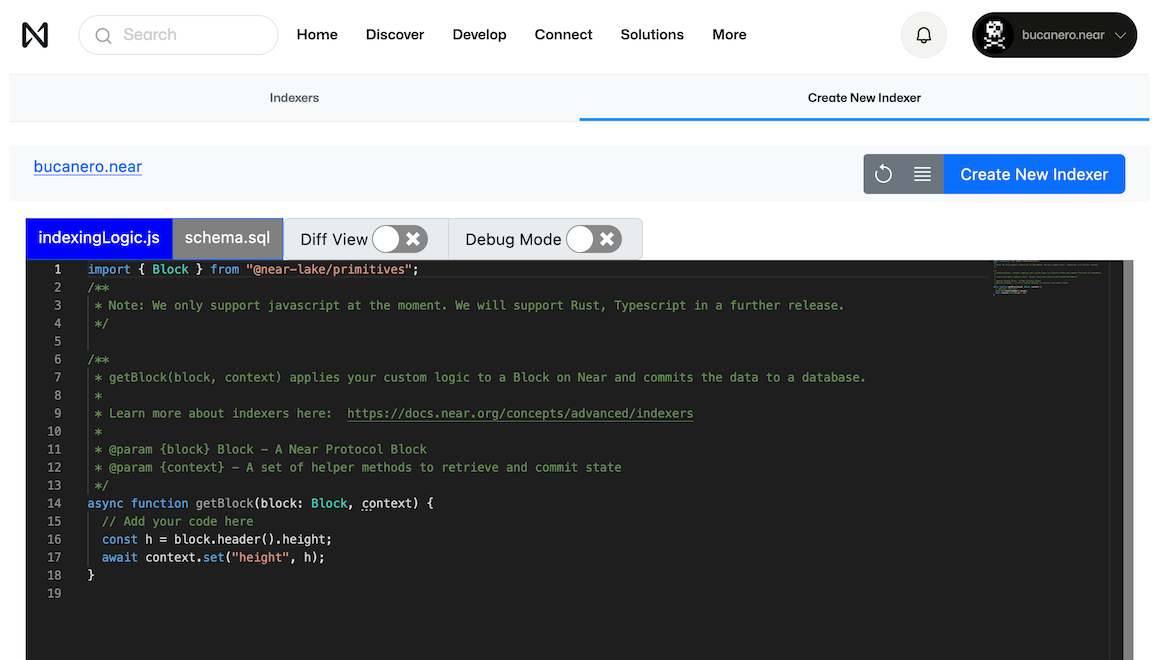
This is the interface through which you can create a new Indexer. On here you can specify:
- the filtering, transforming logic in
indexingLogic.js - the database schema in
schema.sql - the GraphQL queries in
GraphiQL - the indexer name on Indexer Name
- from which block to start indexing
Design Workflow
To design and create your indexer, you can follow this recommended workflow:
- Using nearblocks.io, find transactions to smart contracts that you want to index
- Take the block
heightand put it into the Debug Mode filter, open your browser's Developer Console, and hit Play - Inspect the block and write JavaScript code using NEAR Lake Primitives to extract data from a
blockobject. (This JS code will be yourIndexingLogic.js)Tip: Use
context.logfor debugging to ensure you are getting the right results - Add more blocks for debugging, or start following the blockchain to see how new blocks are handled
- Create tables that you need to store the data using Postgres CREATE table syntax. (This SQL code will be your
schema.sql)
Tip: Watch the introduction to indexing functions.
IndexingLogic.js
The indexer code editor is pre-populated with a template that looks like this:
import { Block } from "@near-lake/primitives";
/**
 * Note: We only support javascript at the moment. We will support Rust, Typescript in a further release.
 */

/**
 * getBlock(block, context) applies your custom logic to a Block on Near and commits the data to a database.
 *
 * Learn more about indexers here:  https://docs.near.org/concepts/advanced/indexers
 *
 * @param {block} Block - A Near Protocol Block
 * @param {context} - A set of helper methods to retrieve and commit state
 */
async function getBlock(block: Block, context) {
  // Add your code here
  const h = block.header().height;
  await context.set("height", h);
}
This editor with this code shows the indexingLogic.js file that is selected. This logic in particular will perform the filtering of blockchain transactions, transforming and saving the data you specify to a GraphQL database you define in schema.sql.
You will likely want to save the data you capture from your indexer to your defined tables in the GraphQL database. You can do this easily by using the context.db object insert method. For example, if you have a table called transactions with columns id, sender, receiver, amount, block_height, you can insert a mutation query for one new element in the table like this:
const tx = {
    block_height: h,
    sender: "senderId",
    receiver: "receiverId",
    amount: 100,
};

await context.db.Transactions.insert(tx);
You can also insert elements using GraphQL mutation queries in your indexingLogic.js file:
await context.graphql(`
  mutation MyMutation($transaction: some_table_insert_input!) {
    insert_<ACCOUNT_NAME>_near_transactions_one(
      object: $transaction
    ) {
      affected_rows
    }
  }
`);
Creating GraphQL queries within strings can be difficult, especially considering that the table names vary depending on your indexer name and account ID. An easier way to do this would be by visiting the GraphQL Playground site and creating the queries there.
Tip: watch the video on how to create queries in Playground.
schema.sql
This tab in the editor will be pre-populated with a template that looks like this:
CREATE TABLE "indexer_storage" (
  "function_name" TEXT NOT NULL,
  "key_name" TEXT NOT NULL,
  "value" TEXT NOT NULL,
  PRIMARY KEY ("function_name", "key_name")
);
This is the database schema that will be used to store the data you specify in indexingLogic.js. You can add more tables and columns to this schema as you see fit. They will be created as soon as you create the indexer.
Creating this default table will allow you to use the context.set helper method to write data. It takes two arguments: a key argument that accepts a string and a value argument, which will be written to the key_name and value columns.
You are able to update indexingLogic.js after you have registered/created your indexer, but you are only allowed to specify schema.sql once before you submit your indexer. If you want to update your schema, you will have to create a new indexer.
GraphiQL
The GraphiQL tab in the editor will allow you to view the returned data from your GraphQL endpoint. This is best verified after you have created the indexer.
Tip: Watch how to create mutations in GraphQL.
Publishing
Clicking the Publish button will open the following pop-up. From here, you can configure the Indexer name, start block, and contract filter.
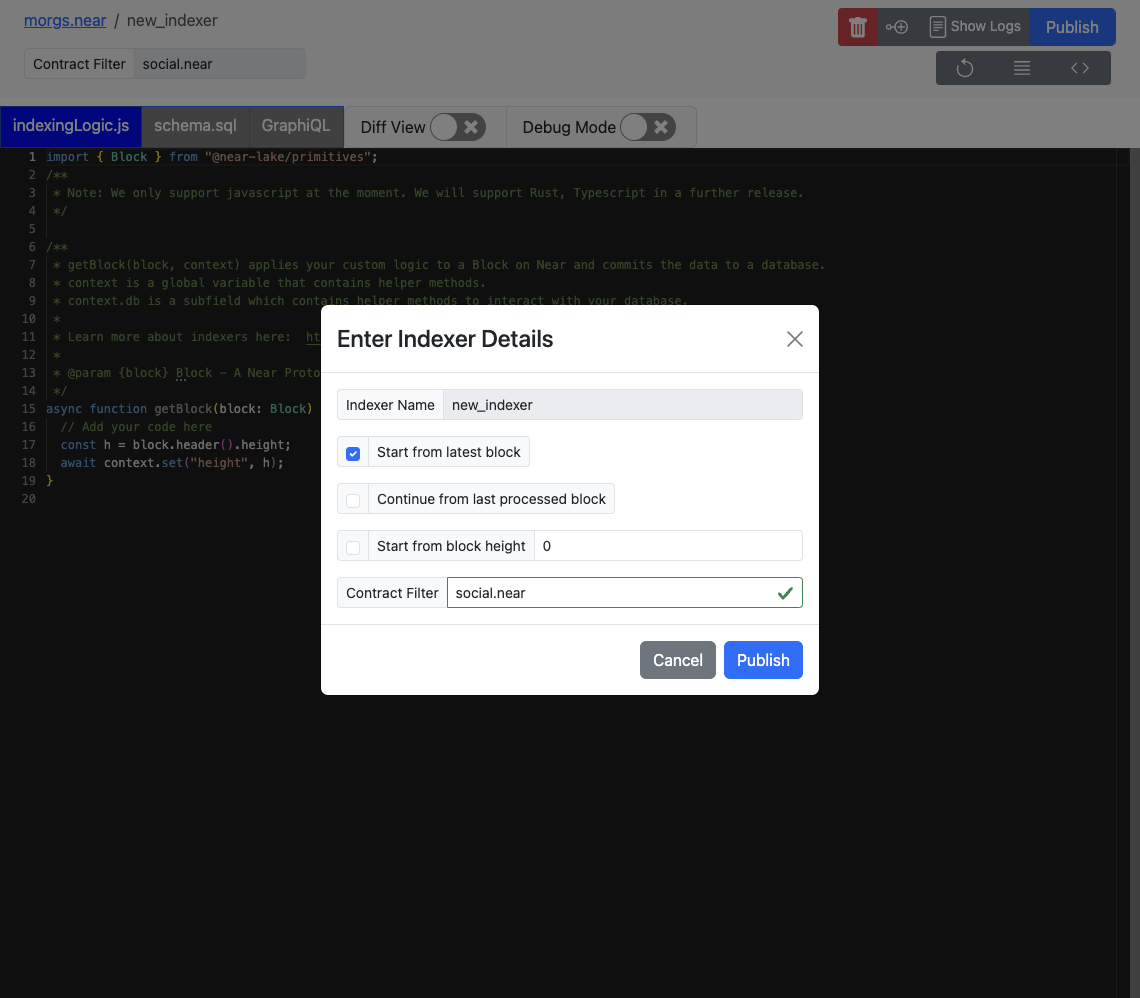
Start Block Options
Start from latest block: Start indexing from the tip of the network. The exact block height is not guaranteed. Useful for testing indexing for events happening in real-time.Continue from last processed block: Update the configuration of the Indexer, and resume indexing from the last processed block. The block at which the configuration is updated is not guaranteed. Useful for fixing bugs encountered on specific blocks, adding additional logs, etc.Start from block height: Start indexing from the height specified, i.e., when the contract was deployed, or when a specific event occurs.
Continue from last processed block is only available for existing indexers. Updating the contract filter is disabled for this option, as it will create a backlog of blocks for two different contracts.
Start from latest block and Start from block height supersede the existing process. All queued blocks at the time of update will be cleared.
Performing Queries on the Public GraphQL API
In this section, we will provide a brief overview of how to query from a component in NEAR.
It is helpful to create a helper method which will allow us to fetch from our GraphQL API. Let's call itfetchGraphQL. It takes three parameters:
queriesDoc: A string containing the queries you would like to execute.queryName: The specific query you want to run.variables: Any variables to pass in that your query supports, such asoffsetandlimitfor pagination.
function fetchGraphQL(queriesDoc, queryName, variables) {
  return asyncFetch(
    QUERY_API_ENDPOINT,
    {
      method: "POST",
      headers: { "x-hasura-role": `<your_account_name>_near` },
      body: JSON.stringify({
        queries: queriesDoc,
        variables: variables,
        operationName: queryName,
      }),
    }
  );
}
To use the fetchGraphQL function, first define a string of queries, e.g transactionQueriesDoc containing your desired queries:
const transactionQueriesDoc = `query TransactionsQuery {
  root_near_transactions {
    id
    sender
    receiver
    amount
    block_height
  }
}
...
query AnotherQuery {
  root_near_accounts {
    id
  }
}`;
Next, call the fetchGraphQL function with the appropriate parameters and process the results. In this example, we fetch transaction data and update the application state:
fetchGraphQL(transactionQueriesDoc, "TransactionsQuery", {})
  .then((result) => {
    if (result.status === 200) {
      let data = result.body.data;
      if (data) {
        const transactions = data.root_near_transactions;
        // Perform any necessary operations on the fetched data
        ...
        // Update state with the new transactions data
        State.update({
          transactions: transactions,
        });
      }
    }
  });
We have just shown how to fetch data from the indexers that we have created from within NEAR. To view a more complex example, see this widget which fetches posts with proper pagination: Posts Widget powered By QueryAPI.
Tip: Watch an end-to-end example.