Hello WebApp
In this guide we will show you how to quickly spin up a frontend where users can login using their wallets and interact with a contract.
If you already have an application and want to integrate NEAR into it, we recommend you to first go through this guide and then check our documentation on integrating NEAR to a frontend
Create NEAR App
If you already have Node.js installed, simply run:
npx create-near-app@latest
Use the interactive menu to set up:
A Web App.NextJs (Classic).
More boilerplate options from create-near-app
Using create-near-app you can also set up:
- NextJs (App Router)
- Vite (React)
- JS/TS Smart Contract
- Rust Smart Contract
While you can use our app with any package manager, we recommend you to skip the installation step and manually install the dependencies using pnpm i.
Once the folder is ready - and all dependencies installed - you can start the development server using pnpm.
pnpm dev
Visit http://localhost:3000 in your browser to view the dApp. Note that since the dApp uses NextJS the app might take longer to load the pages on first visit.
The app is not starting?
Make sure you are using node >= v18, you can easily switch versions using nvm use 18
These are some community templates that you can use to start quickstart your project. Reffer to their pages for more information:
- Bitte Templates - A
collectionof templates from Bitte and MintBase - NEARBuilders/near-vite-starter -
Vite,TypeScript,Tanstack,Tailwind,Playwright
Landing Page
Once the app starts you will see the landing page, rendering a navigation bar that allows users to login using their NEAR wallet. You can then navigate to the docs or the Near Integration page (which we will do).
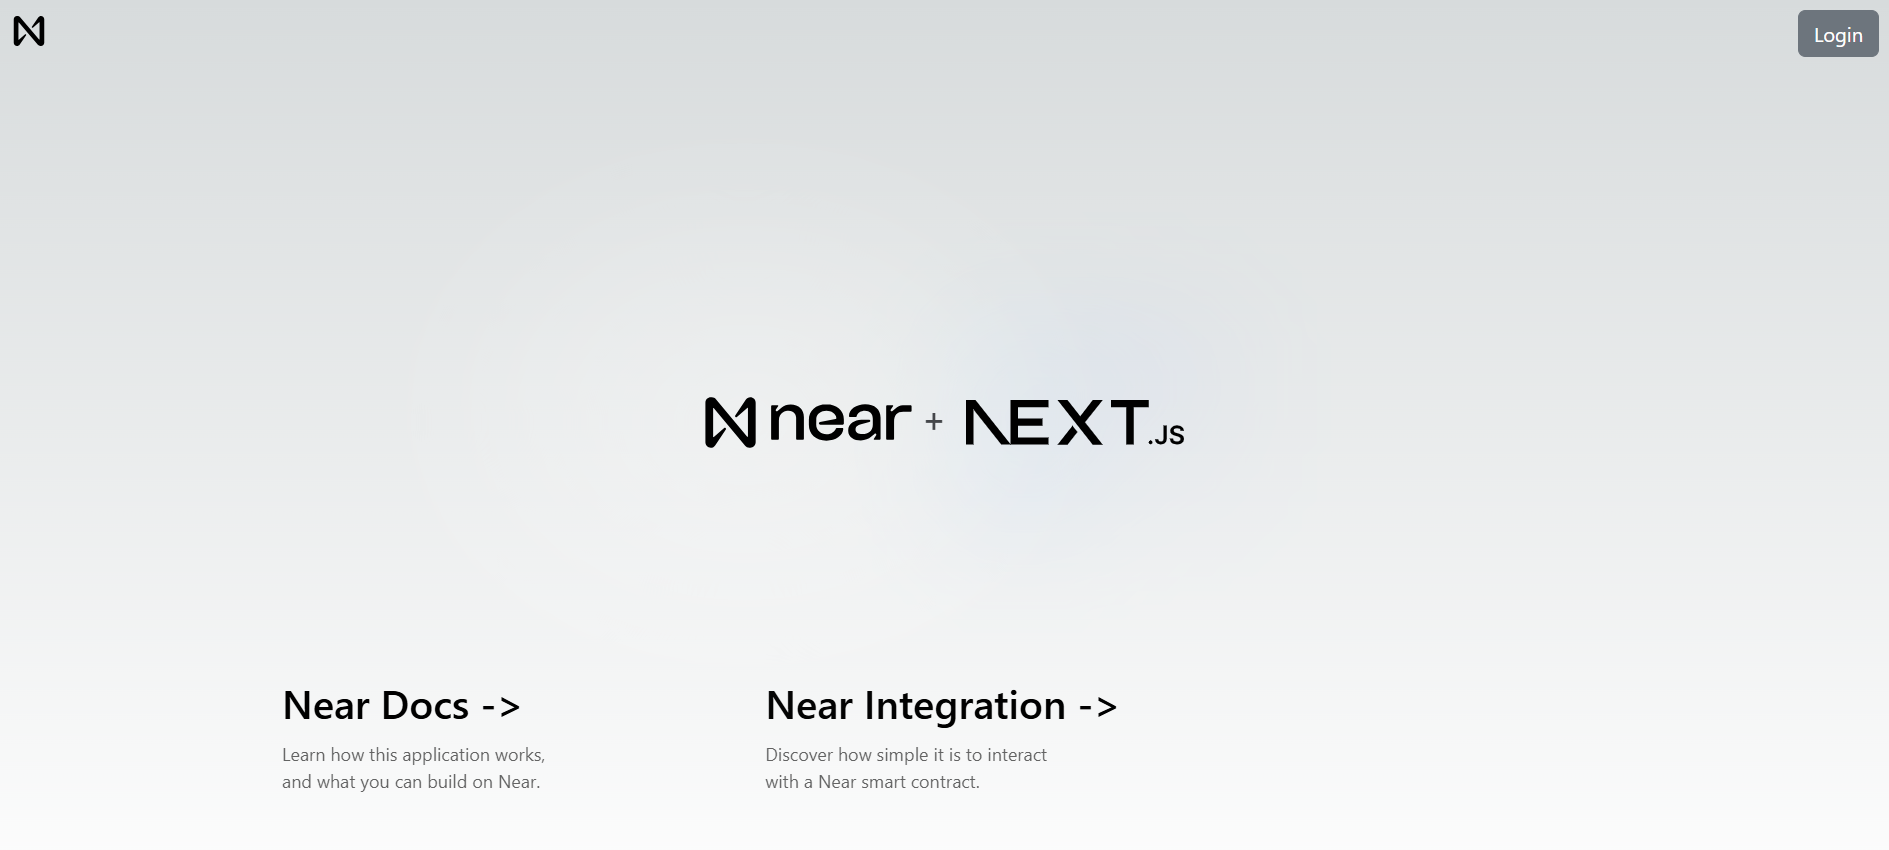 Landing page of Hello NEAR Gateway
Go ahead and sign in with your NEAR account. If you don't have one, you can create one on the fly.
Under the Hood
Next.js uses a template system, where each page is a React component.
Our app's template is defined at ./src/pages/_app.js. It does two things:
- Initializes a wallet selector, and stores it in context so other components can access it later.
- Renders the navigation menu and the page's content.
Loading...
When initializing the wallet-selector you can choose to create a Function-Call Key using the createAccessKeyFor parameter. This allows the application to sign non-payable methods on behalf of the user so they are not required to manually sign each transaction.
const walletSelectorConfig = {
  networkId: NetworkId,
  createAccessKeyFor: HelloNearContract,
  modules: [
    ...
  ],
};
This example additionally includes the option to login with Metamask and other EVM wallets. Further information on how to add EVM wallets to your application can be found in the Ethereum Wallets on NEAR documentation.
What is the wallet selector?
The wallet selector is a modal that allows users to select their preferred Near wallet to login. Our application creates a new instance of the wallet selector then stores it in the apps context so it can be accessed by other components.
Navigation Bar & Login
The navigation bar implements buttons to login and logout users with their Near wallet.
The code for the navigation bar can be found at ./src/components/navigation.js. The login and logout buttons are implemented by using the signIn and signOut methods from the wallet selector previously initialized:
Loading...
Interacting with NEAR
Now that you understand how the landing page works, we can move to the Near Integration page, which retrieves a greeting from the hello.near-examples.testnet contract.
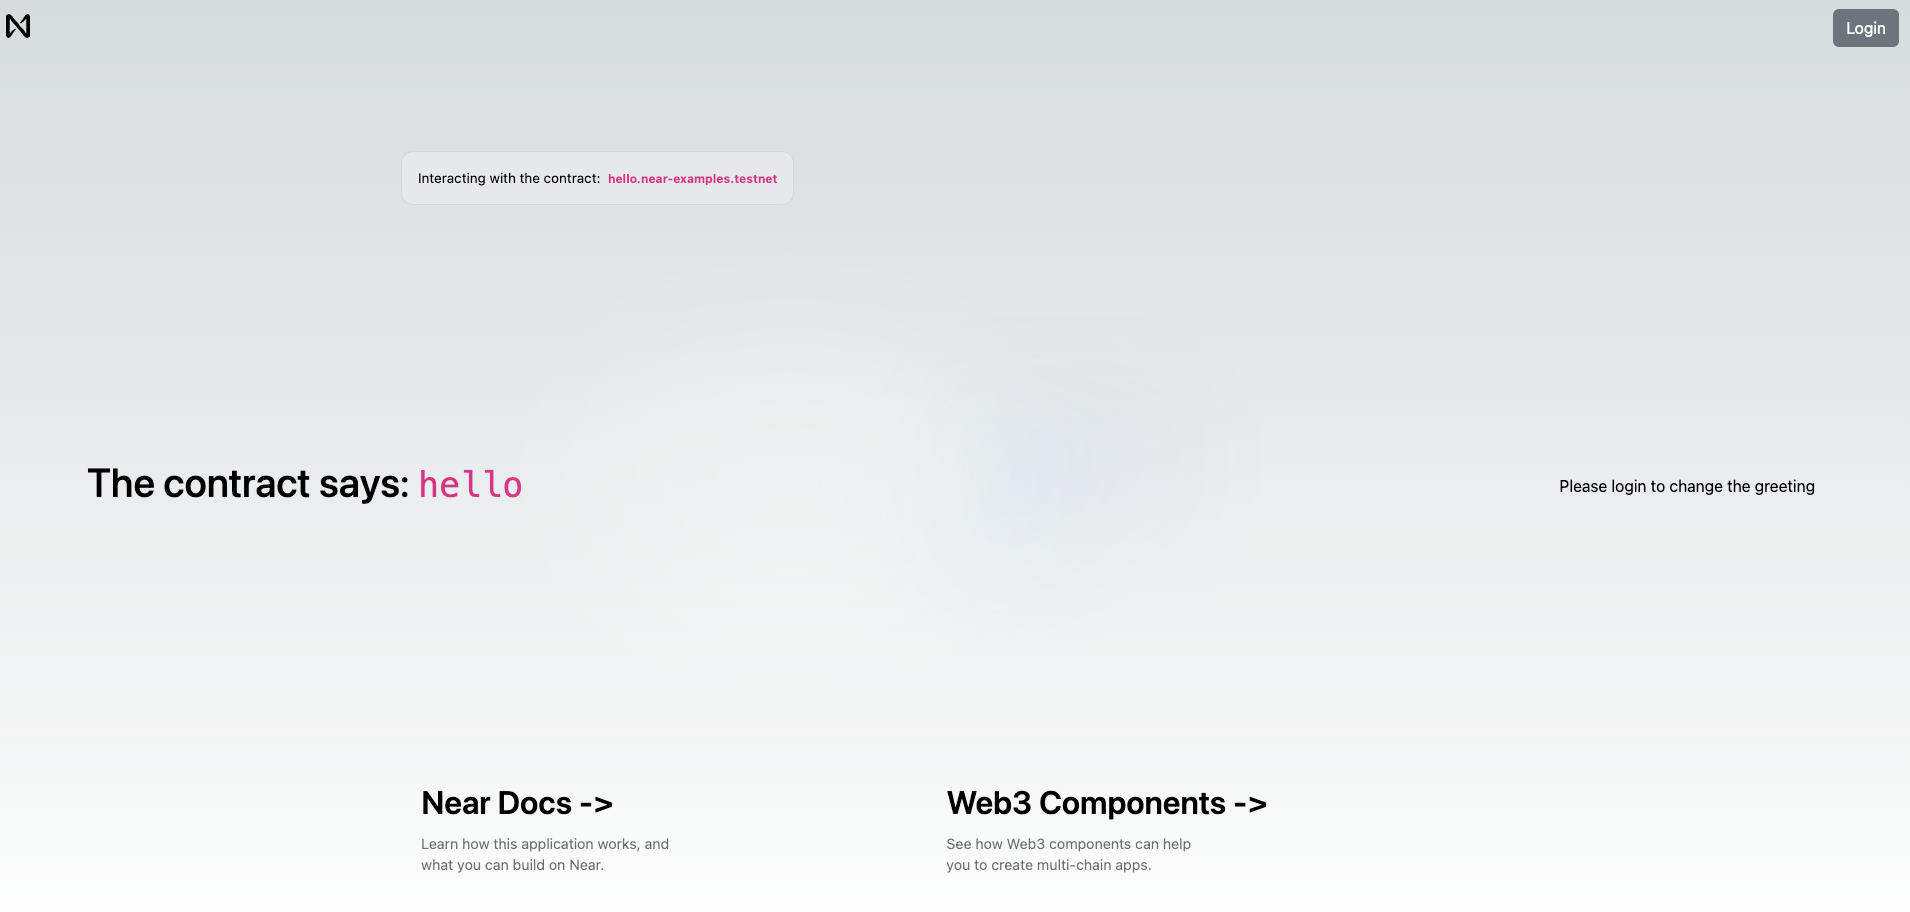 View of the
 Near Integration page
Login if you haven't done it yet and you will see a simple form that allows you to store a greeting in the smart contract.
Under the Hood
We retrieve the wallet we initialized earlier via the useContext hook. The wallet allows us to interact with the smart contract through viewMethod and callMethod.
viewMethodis used to call functions that are read-onlycallMethodis used to call functions that modify the state of the contract
Loading...
On load, the first useEffect hook will call the contract's get_greeting method and set the greeting state to the result.
If the user is logged in, the user will be able to use the saveGreeting function which will call the contract's set_greeting method and then update the greeting.
Moving Forward
That's it for our quickstart tutorial. You have now seen a fully functional frontend that can talk with NEAR contracts and render Web3 components.
Looking for Support?
If you have any questions, connect with us on Dev Telegram or Discord. We also host Office Hours on Discord every Thursday at 11 AM UTC and 6 PM UTC. Join our voice channel to ask your questions and get live support.
Happy coding! 🚀