Blog Posts
The Blog post components enable your gateway to promote regular Near Social posts into fully fledged blog posts. In this article you'll learn how to set up the required components so you can define a custom URL to show a clean feed of blog posts.
Setup
To set up the Blog post features on your near-discovery gateway:
- Add the
Blog.FeedandBlogPostPagecomponents - Add
near/widget/Blog.Feedandnear/widget/BlogPostPageto your configuration
- near-discovery
- nearsocial viewer
- Edit your
bos-components.tsconfiguration file:
Loading...
- Edit your
widgets.jsconfiguration file:
const MainnetWidgets = {
  blog: 'near/widget/Blog.Feed',
  blogPost: 'near/widget/BlogPostPage',
  image: "mob.near/widget/Image",
  default: "mob.near/widget/Homepage",
  viewSource: "mob.near/widget/WidgetSource",
  widgetMetadataEditor: "mob.near/widget/WidgetMetadataEditor",
Blog feed URL
To set a custom URL such as /bosblog for your Blog feed, and define which users will be shown on it, do the following changes on your near-discovery gateway:
- near-discovery
- nearsocial viewer
- Create a folder
src/pages/<customURL>for your desired custom path (e.g.,/bosblog) - Add this
index.tsxfile tosrc/pages/bosblog/:
Loading...
- Add this
BlogPage.jsfile tosrc/pages/:
import React, { useEffect, useState } from "react";
import { Widget } from "near-social-vm";
import { useParams } from "react-router-dom";
import { useQuery } from "../hooks/useQuery";
import { useHashRouterLegacy } from "../hooks/useHashRouterLegacy";

export default function BlogPage(props) {
  useHashRouterLegacy();

  const { widgetSrc } = useParams();
  const query = useQuery();
  const [widgetProps, setWidgetProps] = useState({});
  const src = widgetSrc || props.widgets.default;
  const contributors = ['near', 'jacksonthedev.near'];

  useEffect(() => {
    setWidgetProps(
      [...query.entries()].reduce((props, [key, value]) => {
        props[key] = value;
        return props;
      }, {})
    );
  }, [query]);

  if (widgetProps.accountId && widgetProps.blockHeight) {
    return (
    <div className="d-inline-block position-relative overflow-hidden">
      <Widget src={props.widgets.blogPost} props={widgetProps} />{" "}
    </div>
    );
  }

  widgetProps.contributors = contributors;

  return (
    <div className="d-inline-block position-relative overflow-hidden">
      <Widget src={props.widgets.blog} props={widgetProps} />{" "}
    </div>
  );
}
- Update your
App.jsrouter file, adding the new route to your custom path (e.g.,/bosblog):
import BlogPage from "./pages/BlogPage";
            <Route path={"/signin"}>
              <NavigationWrapper {...passProps} />
              <SignInPage {...passProps} />
            </Route>
            <Route path={"/bosblog"}>
              <NavigationWrapper {...passProps} />
              <BlogPage {...passProps} />
            </Route>
-
Edit the
contributorslist, with the account(s) that you want to showcase on your blog feed:const contributors = ['near', 'jacksonthedev.near'];
That's all, your gateway setup is done and you're ready to show your blog feed. Check the next sections if you want to learn more about the blog post content formatting and how to promote social messages into blog posts.
In this code example, only promoted blog posts from users near and jacksonthedev.near will appear in the Blog feed when someone browses the /bosblog URL.
Promoting posts
If you're using near-discovery you're all set, the Promote menu is already available using the v1.Posts.Feed component.
If you're using a different gateway or your own custom feed, and you want to allow users to promote social messages into blog posts, you can integrate this promoteToBlog code snippet:
const { accountId, blockHeight, item } = props;

const promoteToBlog = () => {
  if (state.loading) {
    return;
  }

  if (!context.accountId && props.requestAuthentication) {
    props.requestAuthentication();
    return;
  } else if (!context.accountId) {
    return;
  }

  State.update({
    loading: true,
  });

  const data = {
    index: {
      promote: JSON.stringify({
        key: context.accountId,
        value: {
          operation: "add",
          type: "blog",
          post: item,
          blockHeight,
        },
      }),
    },
  };

  Social.set(data, {
    onCommit: () => State.update({ loading: false }),
    onCancel: () =>
      State.update({
        loading: false,
      }),
  });
};
Check the Posts.Menu component for a complete implementation that includes a drop-down menu and a button to promote a blog post.
Blog post formatting
When writing blog posts, you can format the content using standard Markdown syntax. Markdown is an easy-to-read, easy-to-write language for formatting plain text.
The only two special cases that you should keep in mind when writing a blog post are:
- the blog post's title
- an optional header image
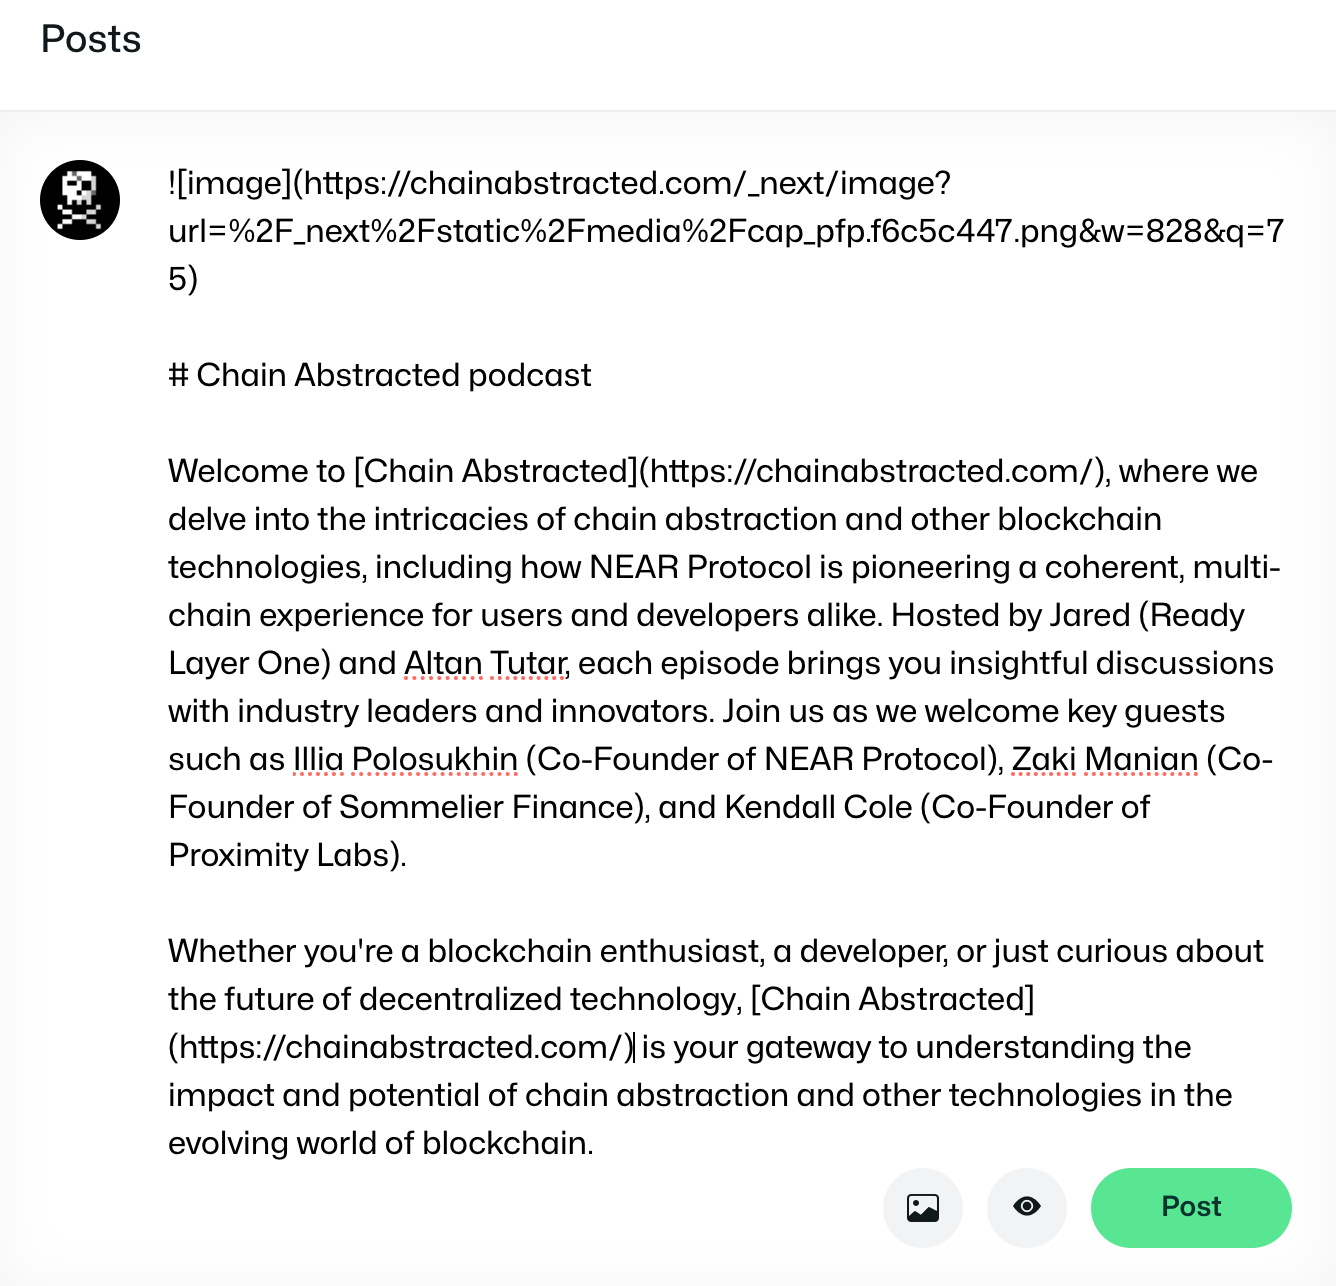
Header image
To define an image for your blog post, just add a markdown image link at the top of your post:

Blog post title
To set the post's title, define it using a top heading tag:
# This is the title of a demo blog post
If you're new to Markdown, you might want to check this page about basic writing and formatting syntax.
Writing a blog post
Adding a new blog post is simple. To publish a new blog post, you only need to:
-
Write a regular Near Social message
-
Repost the message and convert it to a Blog post
Once the message has been posted, promoting it to a blog post is straight forward. Just click on the repost button, and select the
Blogoption:
-
That's it, your blog post has been published, and you can find it under the
Blogtab in your social profile: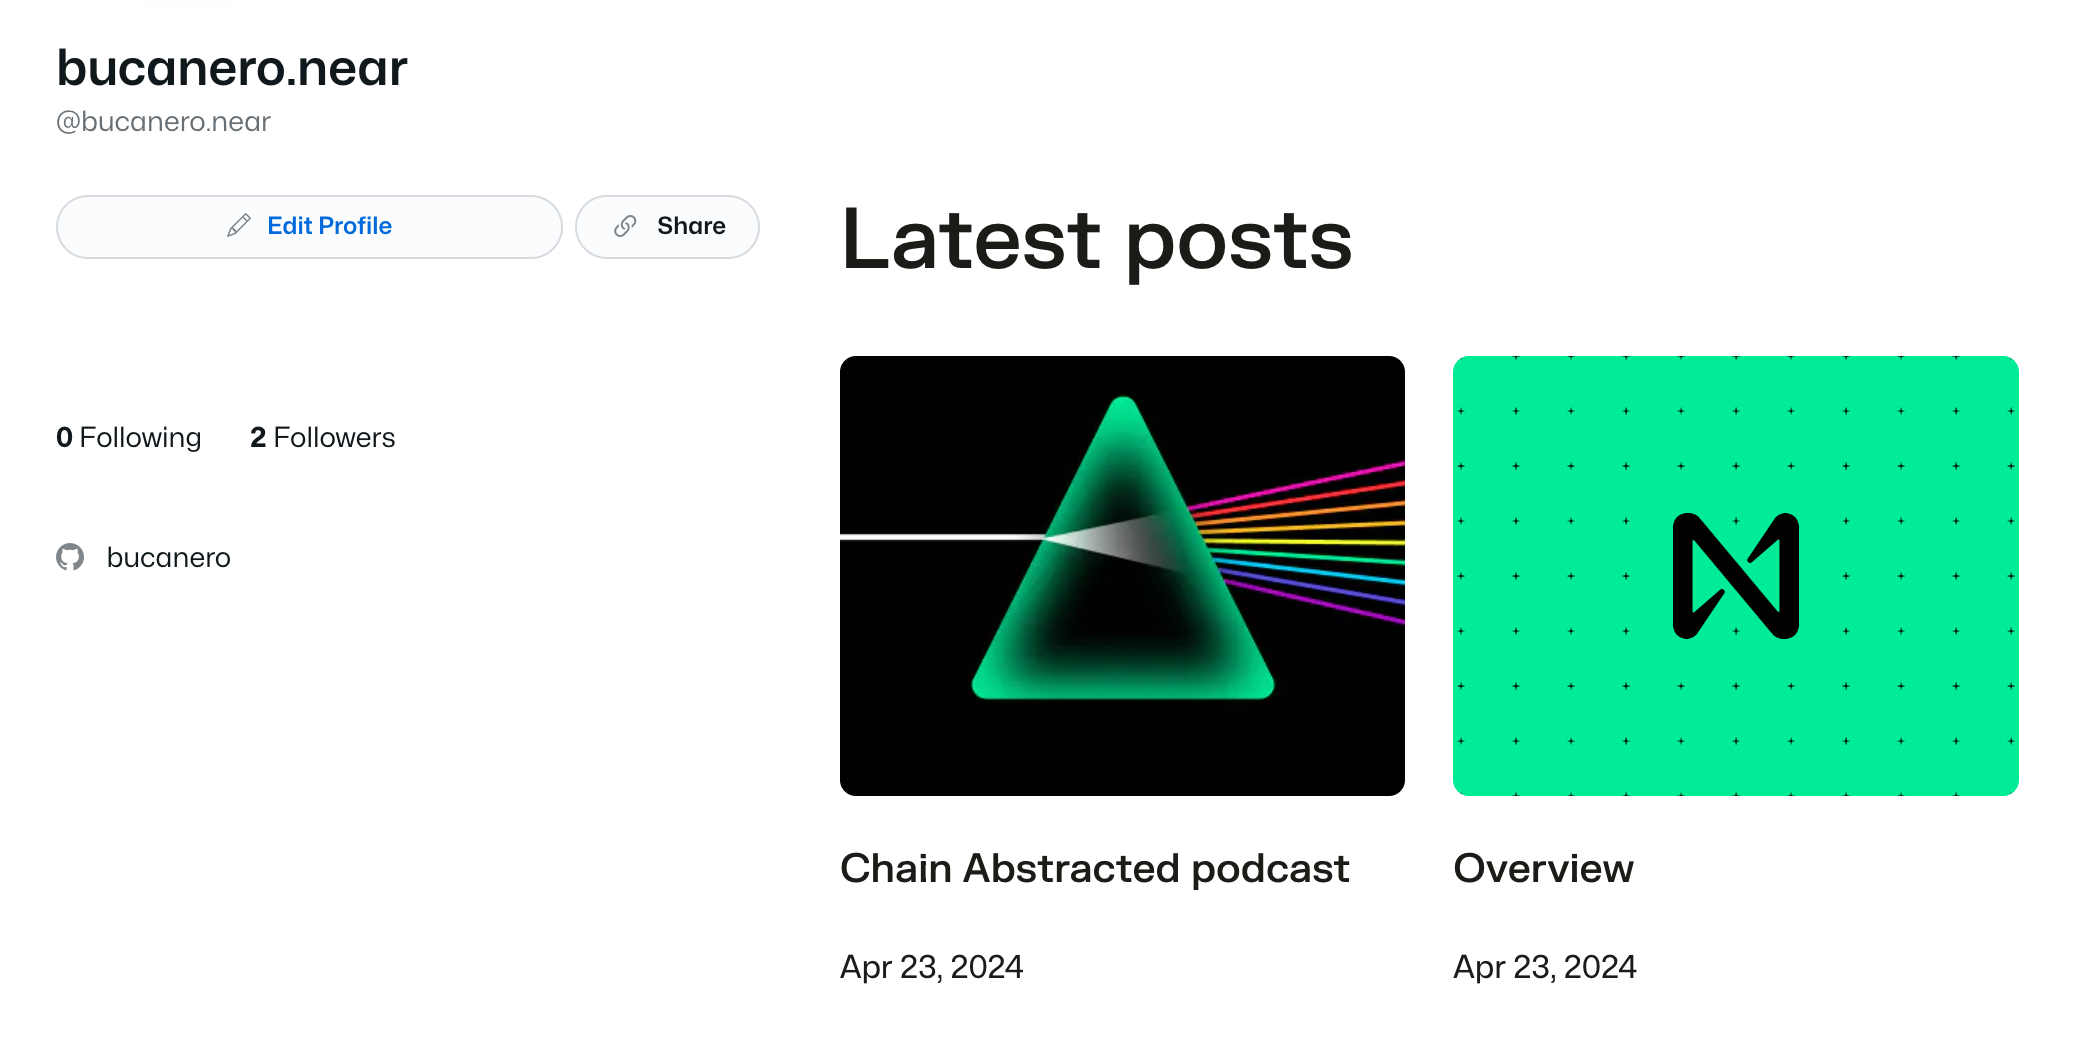
You can find the published blog post example in this link.