Decentralized Storage Solutions
In this article you'll find a brief overview of different decentralized storage solutions that can be integrated into your decentralized applications (dApps). This will allow you to store large amounts of data using a more economical alternative to native NEAR storage.
On-Chain Storage Constraints
For storing data on-chain it's important to keep in mind the following:
- You can store an unlimited amount of files, but will cost you 1N per 100KB
- There is a 4 MB limit on how much you can upload at once
For example, if you want to store an NFT purely on-chain (rather than using IPFS or some other decentralized storage solution as mentioned below) you'll have almost an unlimited amount of storage but will have to pay 1 $NEAR per 100 KB of storage used (see Storage Staking)
Users will be limited to 4MB per contract call upload due to MAX_GAS constraints. The maximum amount of gas one can attach to a given functionCall is 300TGas.
Arweave
Arweave is a new type of storage that backs data with sustainable and perpetual endowments (tokens held within the protocol that benefit from inflation and the decrease in the cost of storage over long periods of time). This allows users and developers to store data forever. Arweave acts as a collectively owned hard drive, and allows their users to preserve valuable information, apps, and history indefinitely.
The Arweave protocol matches a torrent-like swarm of incentivised miners with massive collective hard drive space with those individuals and organizations that need to store data or host content permanently. This is achieved in a decentralized network, and all data stored is backed by block mining rewards and a sustainable endowment ensuring it is available in perpetuity.
Example implementation
Let's see how to store some files on Arweave, by running a local Arweave gateway-like server.
Arlocal setup
Arlocal essentially creates a simulated version of Arweave. Think of it like a local node that runs on your computer to store information.
In this example you'll need to run two terminals.
- Open your first terminal and run:
npx arlocal
You should see the response: arlocal started on port 1984.
npx arlocal <desired port number>. :::NEAR-Arweave frontend
The NEAR-Arweave repository has a simple frontend that allows you to store .png files using arlocal.
- Now open your second terminal and clone the frontend by running the following command:
git clone https://github.com/near-examples/NEAR-Arweave-Tutorial.git
- Install dependencies by running the following in the project folder:
cd NEAR-Arweave-Tutorial
yarn
- Next, start the application by running:
yarn start
- Now you're ready to upload an image by selecting the Choose File button:
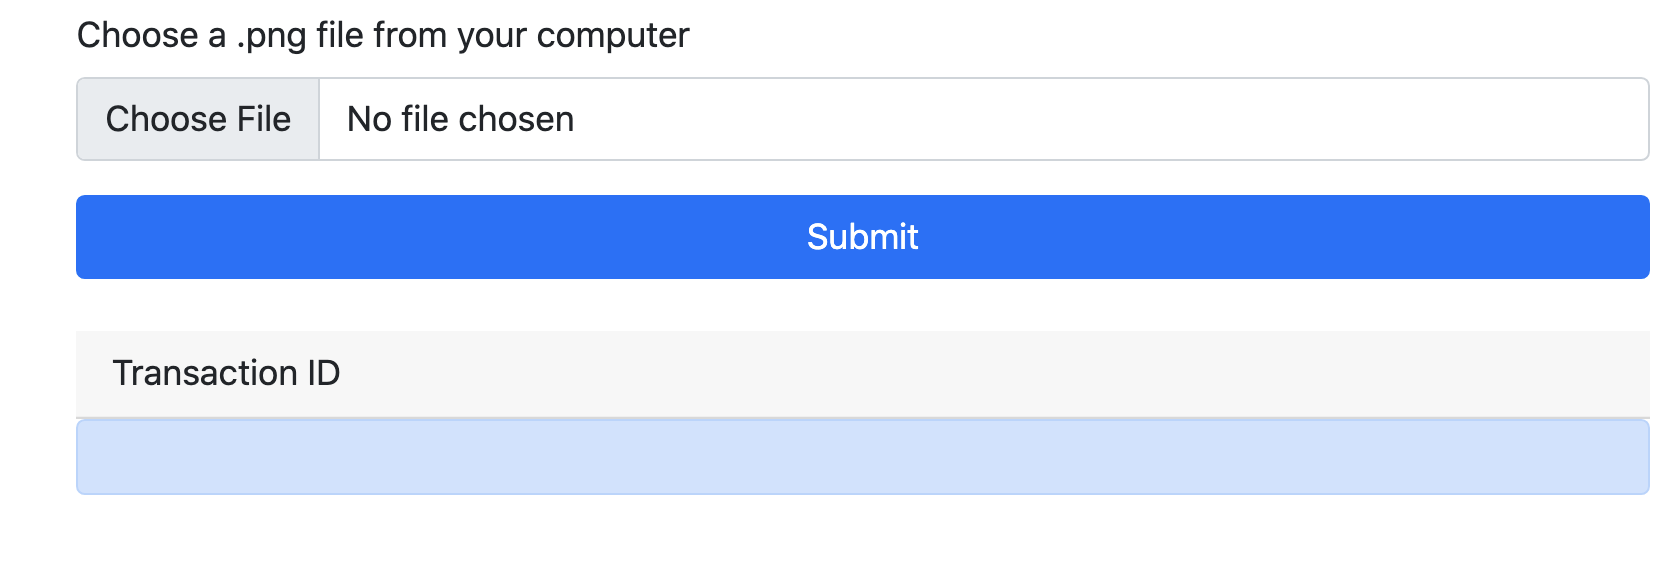
- You should see the transaction ID window become populated after hitting the Submit button:

Mining your transaction
On Arweave your transaction goes through two stages; a pending stage and a confirmed stage. For the transaction to be complete and for you to be able to retrieve your data, your transaction must be confirmed.
- Visit
http://localhost:1984/minein your browser to send a mine request to your local node.
you may find that you are still able to retrieve your data without this step, but that's because you are running a local node. When dealing with a real Arweave node you will have to wait until your transaction has been mined and confirmed.
Retrieve the image
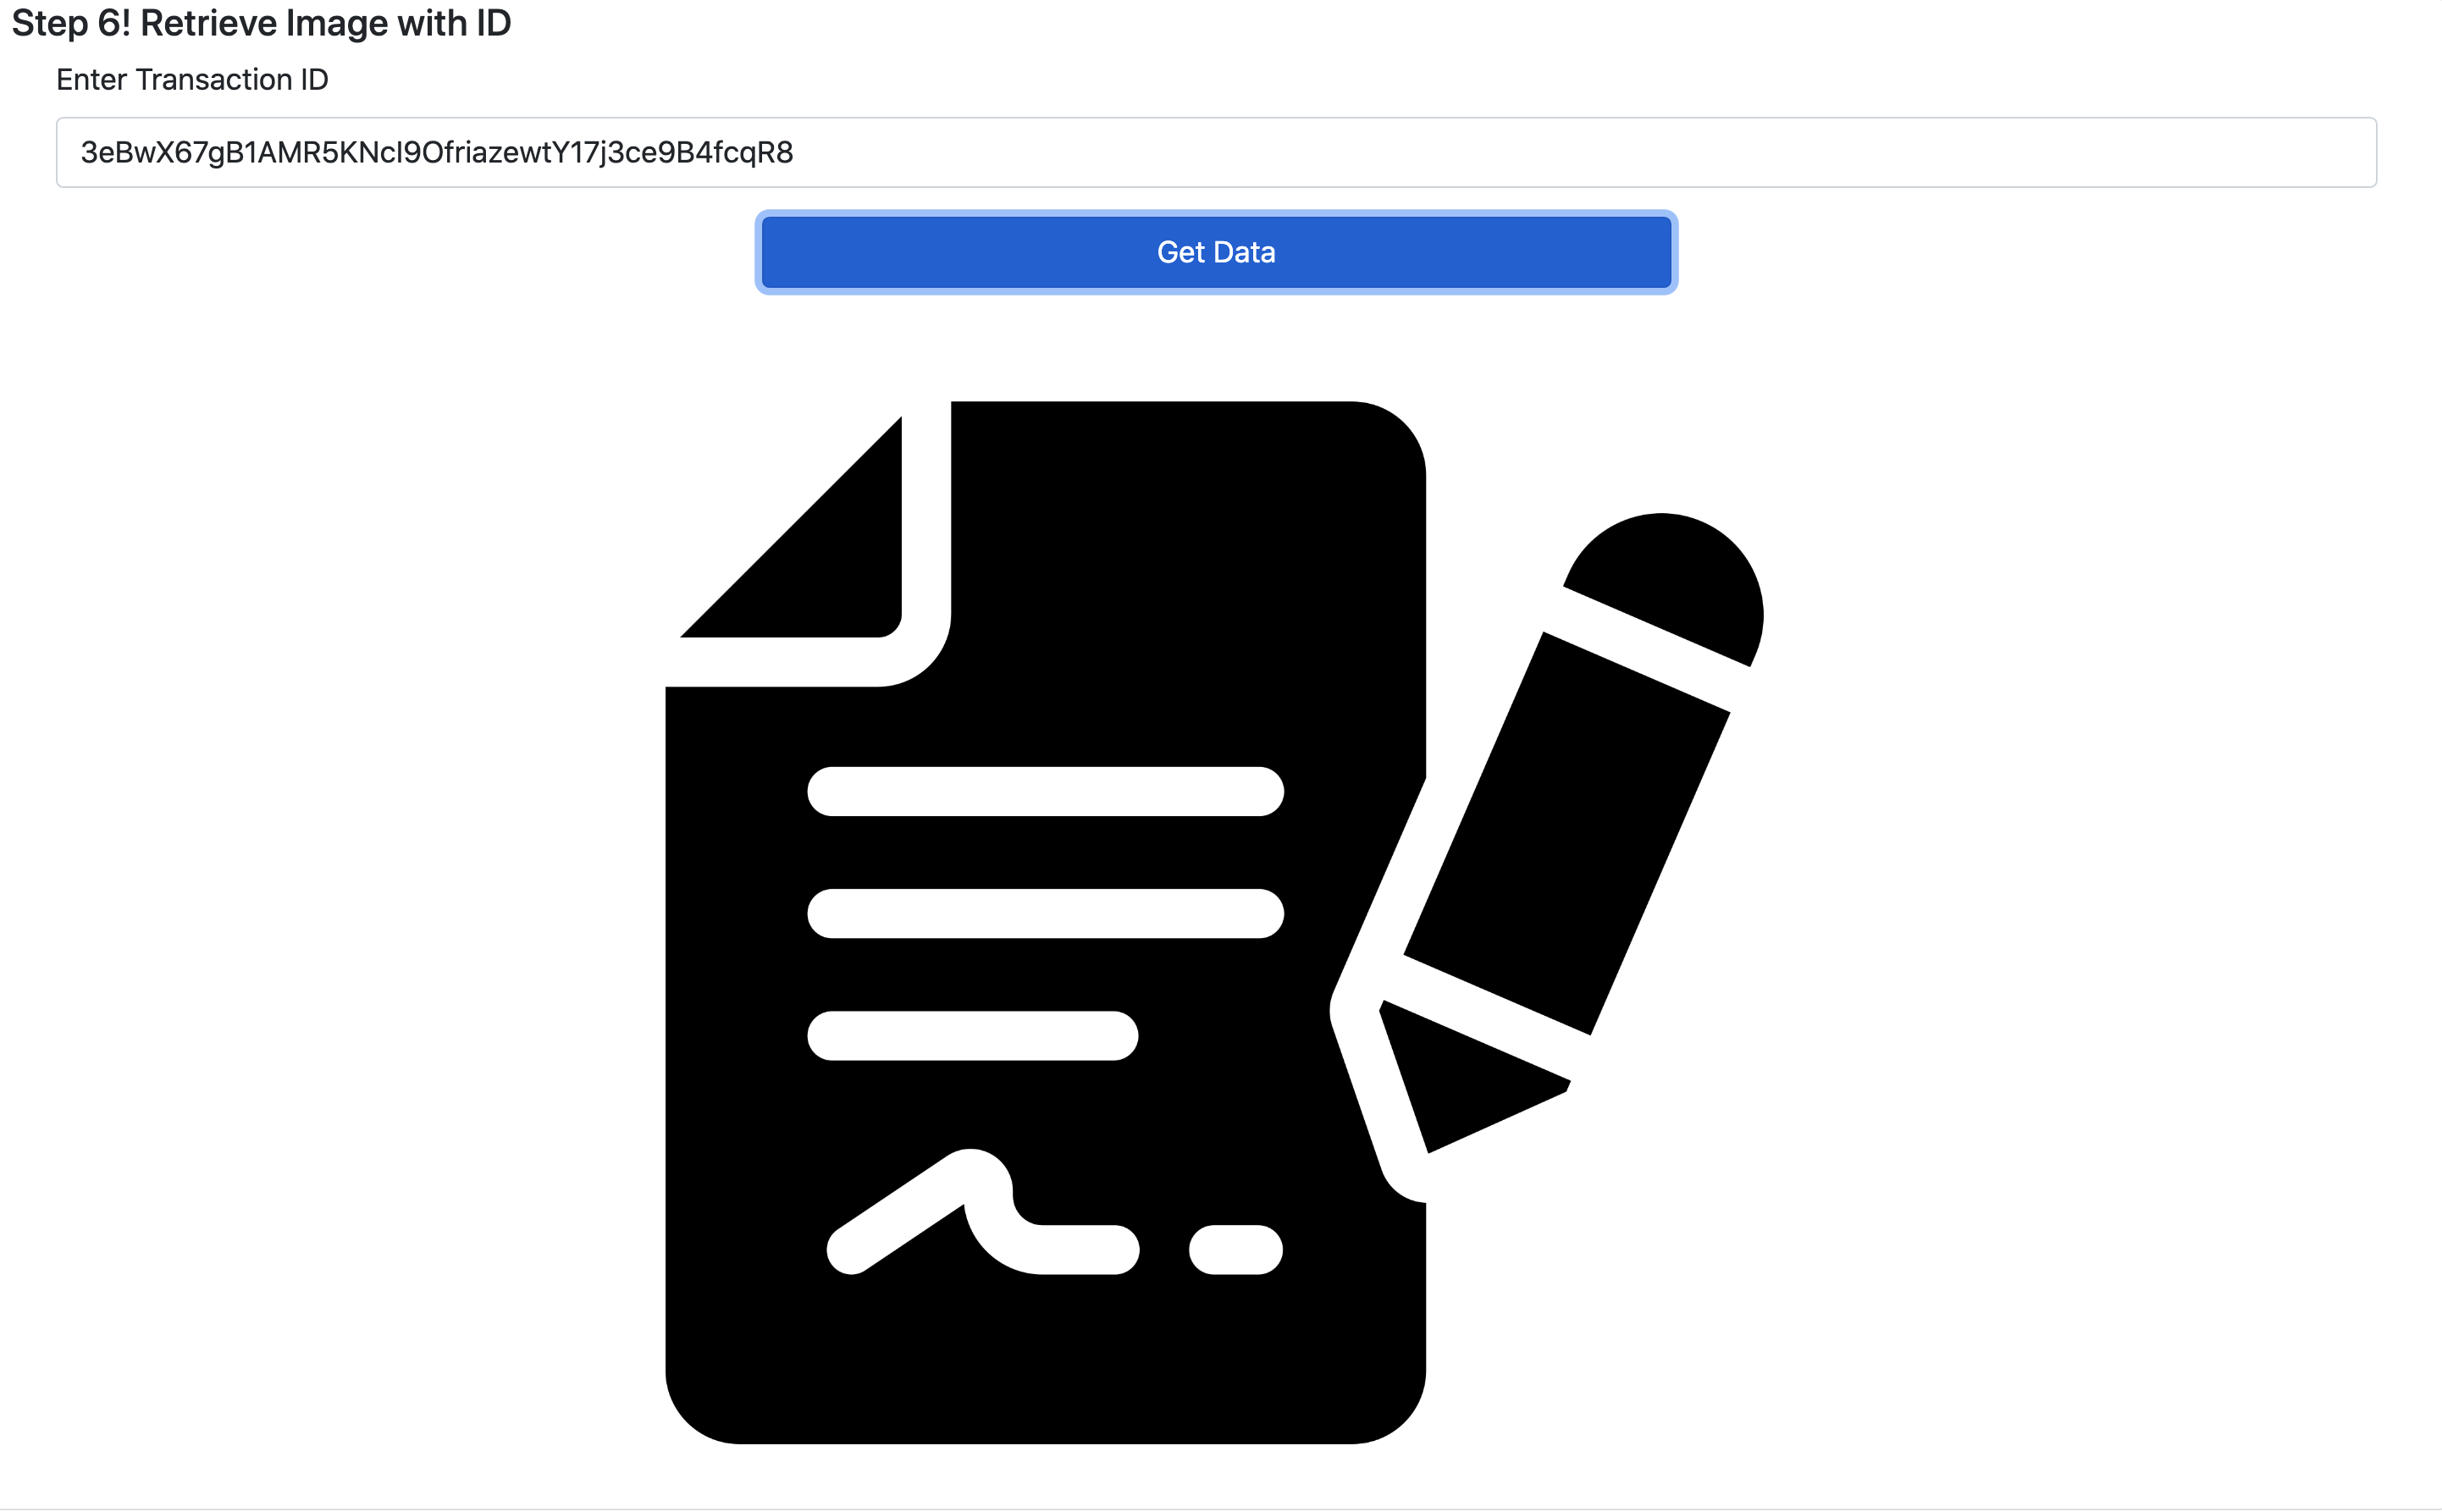
- Now you can copy and paste any of your listed arweave transaction IDs in step 5 on the frontend to retrieve your file from your local node:
Crust
Crust provides a Web3.0 decentralized storage network for the Metaverse. It is designed to realize core values of decentralization, privacy and assurance. Crust supports multiple storage-layer protocols such as IPFS and exposes instant accessible on-chain storage functions to users. Crustʼs technical stack is also capable of supporting data manipulation and computing.
The Crust protocol is 100% compatible with the IPFS protocol, and it matches people who have hard drive space to spare with those who need to store data or host content. Crust is based on the Polkadot ecosystem and supports most contract platforms, including NEAR/Solana/Ethereum/Elrond/etc. with its cross-chain solution.
Integration example
Here's a simple integration example to store a file with Crust and NEAR.
1. Upload the file to IPFS
First, you need to put your files into IPFS.
There are 2 ways to upload a file to IPFS:
- using a local IPFS node
- using a remote IPFS W3Authed Gateway
- You can find more details about
ipfsW3GWendpoints on this link. - You can also find a code example on how to upload a file to IPFS on this link. :::
2. Place an storage order
Next, you need to send a transaction named Place Storage Order on Crust chain. This transaction will dispatch your storage requirement to each Crust IPFS nodes through the blockchain. Then the IPFS nodes will start pulling your file using the IPFS protocol.
- You can find more information about
crustChainEndpointon this link. - You can create your own account (
seeds) following these instructions. - Check this link for a code example about placing a storage order on Crust. :::
3. Query order status
Then, you can query the storage order by calling on-chain status (status{replica_count, storage_duration, ...}). This call will return:
{
    "file_size": 23710,
    "spower": 24895,
    "expired_at": 2594488, // Storage duration
    "calculated_at": 2488,
    "amount": "545.3730 nCRU",
    "prepaid": 0,
    "reported_replica_count": 1, // Replica count
    "replicas": [{
        "who": "cTHATJrSgZM2haKfn5e47NSP5Y5sqSCCToxrShtVifD2Nfxv5",
        "valid_at": 2140,
        "anchor": "0xd9aa29dda8ade9718b38681adaf6f84126531246b40a56c02eff8950bb9a78b7c459721ce976c5c0c9cd4c743cae107e25adc3a85ed7f401c8dde509d96dcba0",
        "is_reported": true,
        "created_at": 2140
    }] // Who stores the file
}
4. Add file prepaid
The default storage time for a single transaction (order) is 6 months. If you want to extend the storage duration, Crust provides a prepaid pool so you can customize the file's storage time. This pool allows you to put some tokens and will automatically extend the file's storage time.
IPFS
The InterPlanetary File System (IPFS) is a protocol and peer-to-peer network for storing and sharing data in a distributed file system. IPFS uses content-addressing to uniquely identify each file in a global namespace connecting all computing devices.
Content identifier
When you add a file to IPFS it is split into cryptographically hashed smaller chunks and then given a unique fingerprint called a content identifier (CID).
The CID acts as an permanent record of a file as it exists at that point in time.
Look-up
When a node looks up for a file, it ask the peer nodes for the content referenced by the file's CID. When a node views or downloads a file, it caches a copy and become another provider until the cache is cleared.
Pinned content
On the IPFS network, each node stores only content it is interested in. A node can pin content in order to keep it forever, or discard content it hasn't used to save space.
File versions
When you add a new version of your file to IPFS it will get a new CID since the cryptographic hash is different. This means that any changes to a file will not overwrite the original and common chunks across files can be reused in order to minimize storage costs.
Naming system
IPFS offers a decentralized naming system so you don't need to remember a long string of CIDs. IPFS can find the latest version of your file using the IPNS decentralized naming system and you can use DNSLink to map CIDs to human-readable DNS names.
IPFS providers
- Web3.Storage: it's a free service that simplifies building on top of IPFS and Filecoin. Web3.Storage is backed by Filecoin and makes content available via IPFS, leveraging the unique properties of each network.
- NFT.Storage: this free service is built specifically for storing off-chain NFT data. Data is stored decentralized on IPFS and Filecoin. The data is referenced using content-addressed IPFS URIs that can be used in your smart contracts.
- Filebase: a geo-redundant IPFS pinning provider that pins all IPFS files with automatic 3x redundancy across diverse, geographic locations for additional performance, redundancy, and reliability.
Example
Let's try a simple IPFS integration using the NFT.Storage API:
-
Register an account on nft.storage so you can create API access keys.
-
Create an API access key and write it down.
-
Submit an
HTTP POSTrequest toapi.nft.storage/upload, passing the API key and the file data in the request body:
curl -X POST --data-binary @/path/to/file/art.png -H 'Authorization: Bearer YOUR_API_KEY' https://api.nft.storage/upload
"Authorization": "Bearer YOUR_API_KEY" :::Successful requests will receive a HTTP 200 status and application/json response like:
{
  "ok": true,
  "value": { "cid": "bafy..." }
}
- Using the
cid, write down the image's URL:https://<cid>.ipfs.dweb.link/
https://bafyreiabag3ztnhe5pg7js4bj6sxuvkz3sdf76cjvcuqjoidvnfjz7vwrq.ipfs.dweb.link/
Now that your file has been uploaded to IPFS, it can be retrieved using the cid link.