Các giải pháp lưu trữ phi tập trung
Trong bài viết này, chúng ta sẽ nắm được tổng quan cách thức lưu trữ của các ứng dụng phi tập trung (dAPPs) mà bạn có thể sử dụng cho ứng dụng của mình. Điều này sẽ cho phép bạn lưu trữ một lượng lớn dữ liệu, bằng cách sử dụng một giải pháp thay thế tiết kiệm hơn so với native NEAR storage.
On-Chain Storage Constraints
For storing data on-chain it's important to keep in mind the following:
- You can store an unlimited amount of files, but will cost you 1N per 100KB
- There is a 4 MB limit on how much you can upload at once
For example, if you want to store an NFT purely on-chain (rather than using IPFS or some other decentralized storage solution as mentioned below) you'll have almost an unlimited amount of storage but will have to pay 1 $NEAR per 100 KB of storage used (see Storage Staking)
Users will be limited to 4MB per contract call upload due to MAX_GAS constraints. The maximum amount of gas one can attach to a given functionCall is 300TGas.
Arweave
Arweave is a new type of storage that backs data with sustainable and perpetual endowments (tokens held within the protocol that benefit from inflation and the decrease in the cost of storage over long periods of time). Cho phép các user và developer lưu trữ dữ liệu vĩnh viễn. Có thể hiểu đơn giản Arweave như một ổ cứng dùng chung, cho phép tất cả mọi người có thể lưu trữ thông tin có giá trị, các ứng dụng và lịch sử vô thời hạn trên đó.
The Arweave protocol matches a torrent-like swarm of incentivised miners with massive collective hard drive space with those individuals and organizations that need to store data or host content permanently. This is achieved in a decentralized network, and all data stored is backed by block mining rewards and a sustainable endowment ensuring it is available in perpetuity.
:::Thông tin Để hiểu rõ hơn về Arweave, bạn có thể đọc thêm về mining mechanism và bandwidth-sharing system. :::
Example implementation
Hãy xem làm cách nào để lưu trữ các file trên Arweave, chúng ta cần dựng một Arweave gateway ở local - giống với Arweave server.
Arlocal setup
Arlocal về cơ bản, sẽ tạo ra phiên bản giả lập của Arweave. Có thể hình dung nó là một local node để lưu trữ dữ liệu trên máy tính của bạn.
Trong ví dụ này, bạn cần mở hai terminal.
- Trong terminal thứ nhất, chạy lệnh sau:
npx arlocal
Bạn sẽ thấy thông tin sau: arlocal started on port 1984.
npx arlocal <desired port number>. :::NEAR-Arweave frontend
Trong kho lưu trữ NEAR-Arweave có một frontend đơn giản về việc lưu trữ file định dạng .png bằng arlocal.
- Trong terminal thứ hai, clone frontend bằng cách chạy lệnh sau:
git clone https://github.com/near-examples/NEAR-Arweave-Tutorial.git
- Truy cập vào thư mục vừa clone, cài đặt những thư viện cần thiết bằng cách chạy lệnh sau:
cd NEAR-Arweave-Tutorial
yarn
- Tiếp theo, khởi động ứng dụng bằng cách chạy lệnh sau:
yarn start
- Bây giờ bạn có thể tải hình lên bằng cách bấm vào nút Choose File:
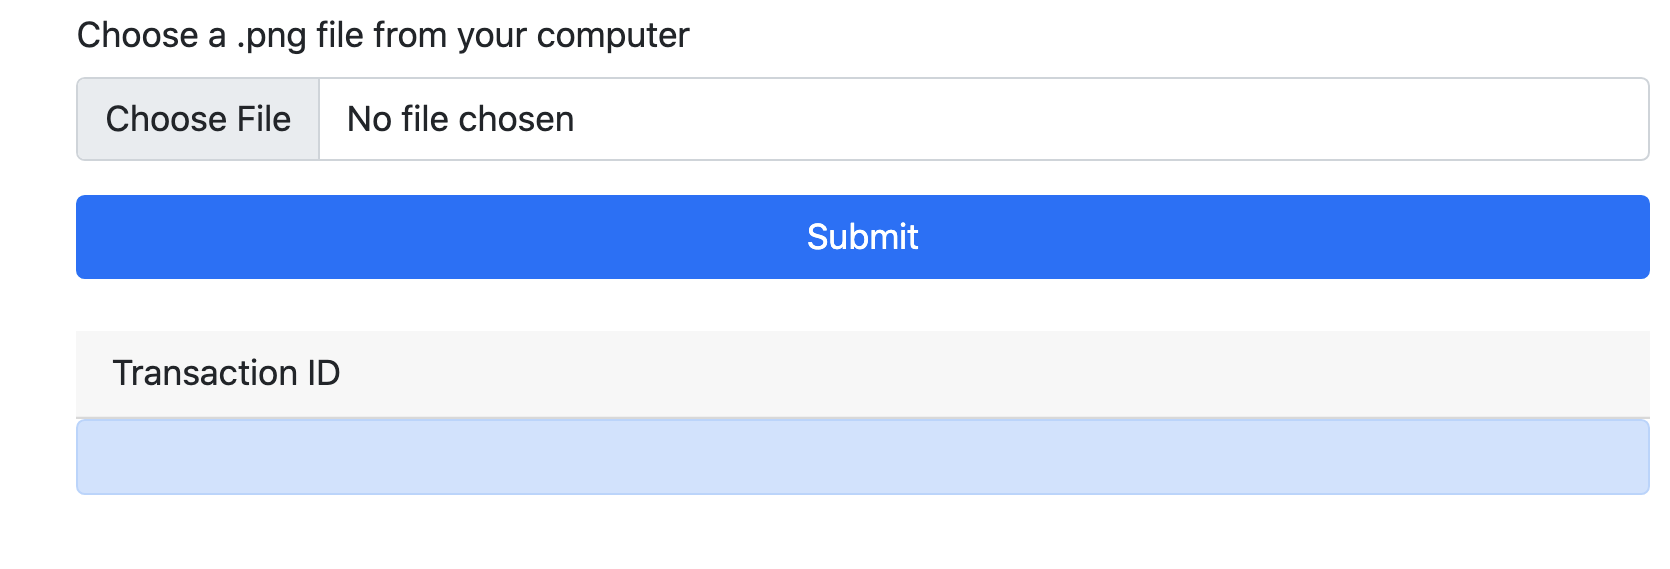
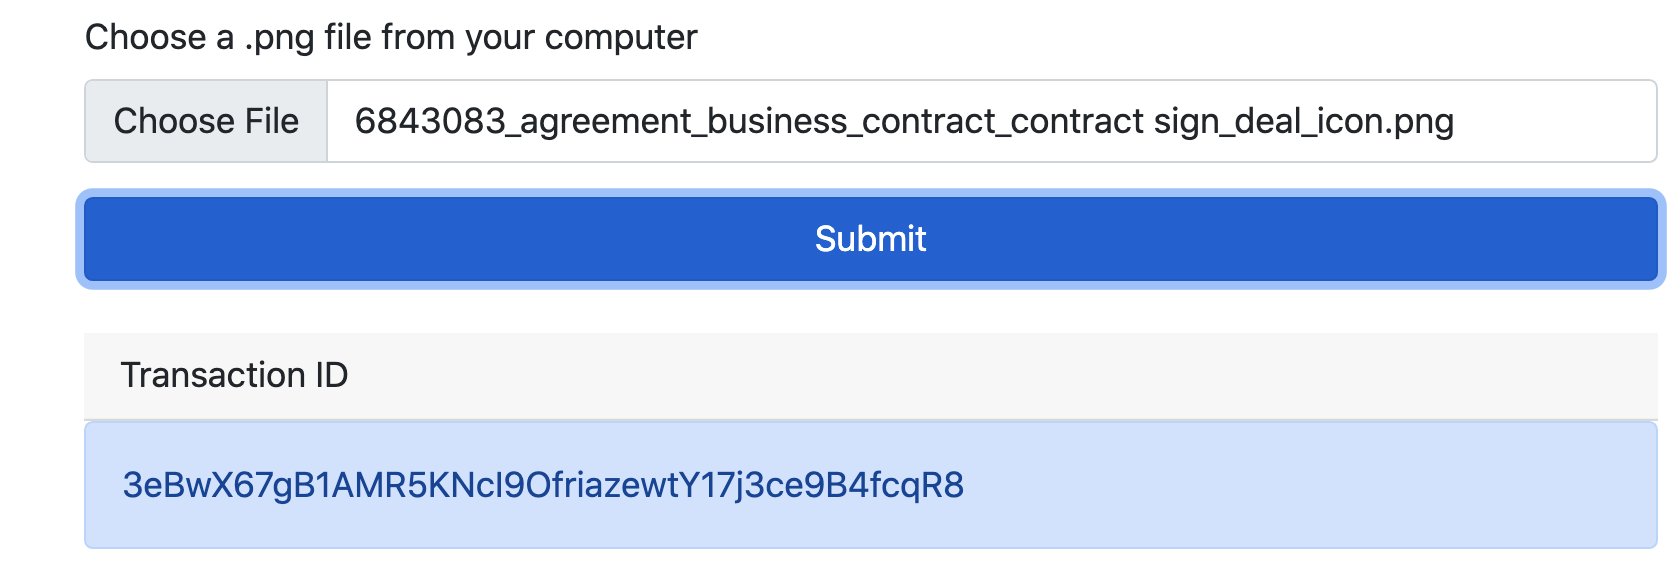
- Bạn sẽ thấy transaction ID được điền vào ô bên dưới sau khi bấm vào nút Submit:
Mining your transaction
Trong Arweave, transaction của bạn sẽ trải qua hai trạng thái: trạng thái chờ và trạng thái xác nhận. Để đảm bảo transaction của bạn hoàn thành và có thể lấy được dữ liệu, transaction phải được xác nh��ận.
- Truy cập vào
http://localhost:1984/minetrên trình duyệt để gửi yêu cầu khai thác tới arlocal node.
Do bạn đang chạy một node ở local, nên bạn có lẽ vẫn có thể nhận được dữ liệu mà không thông qua bước này. Trong thực tế, khi làm việc với Arweave node, bạn phải đợi cho tới khi transaction được khai thác và xác nhận.
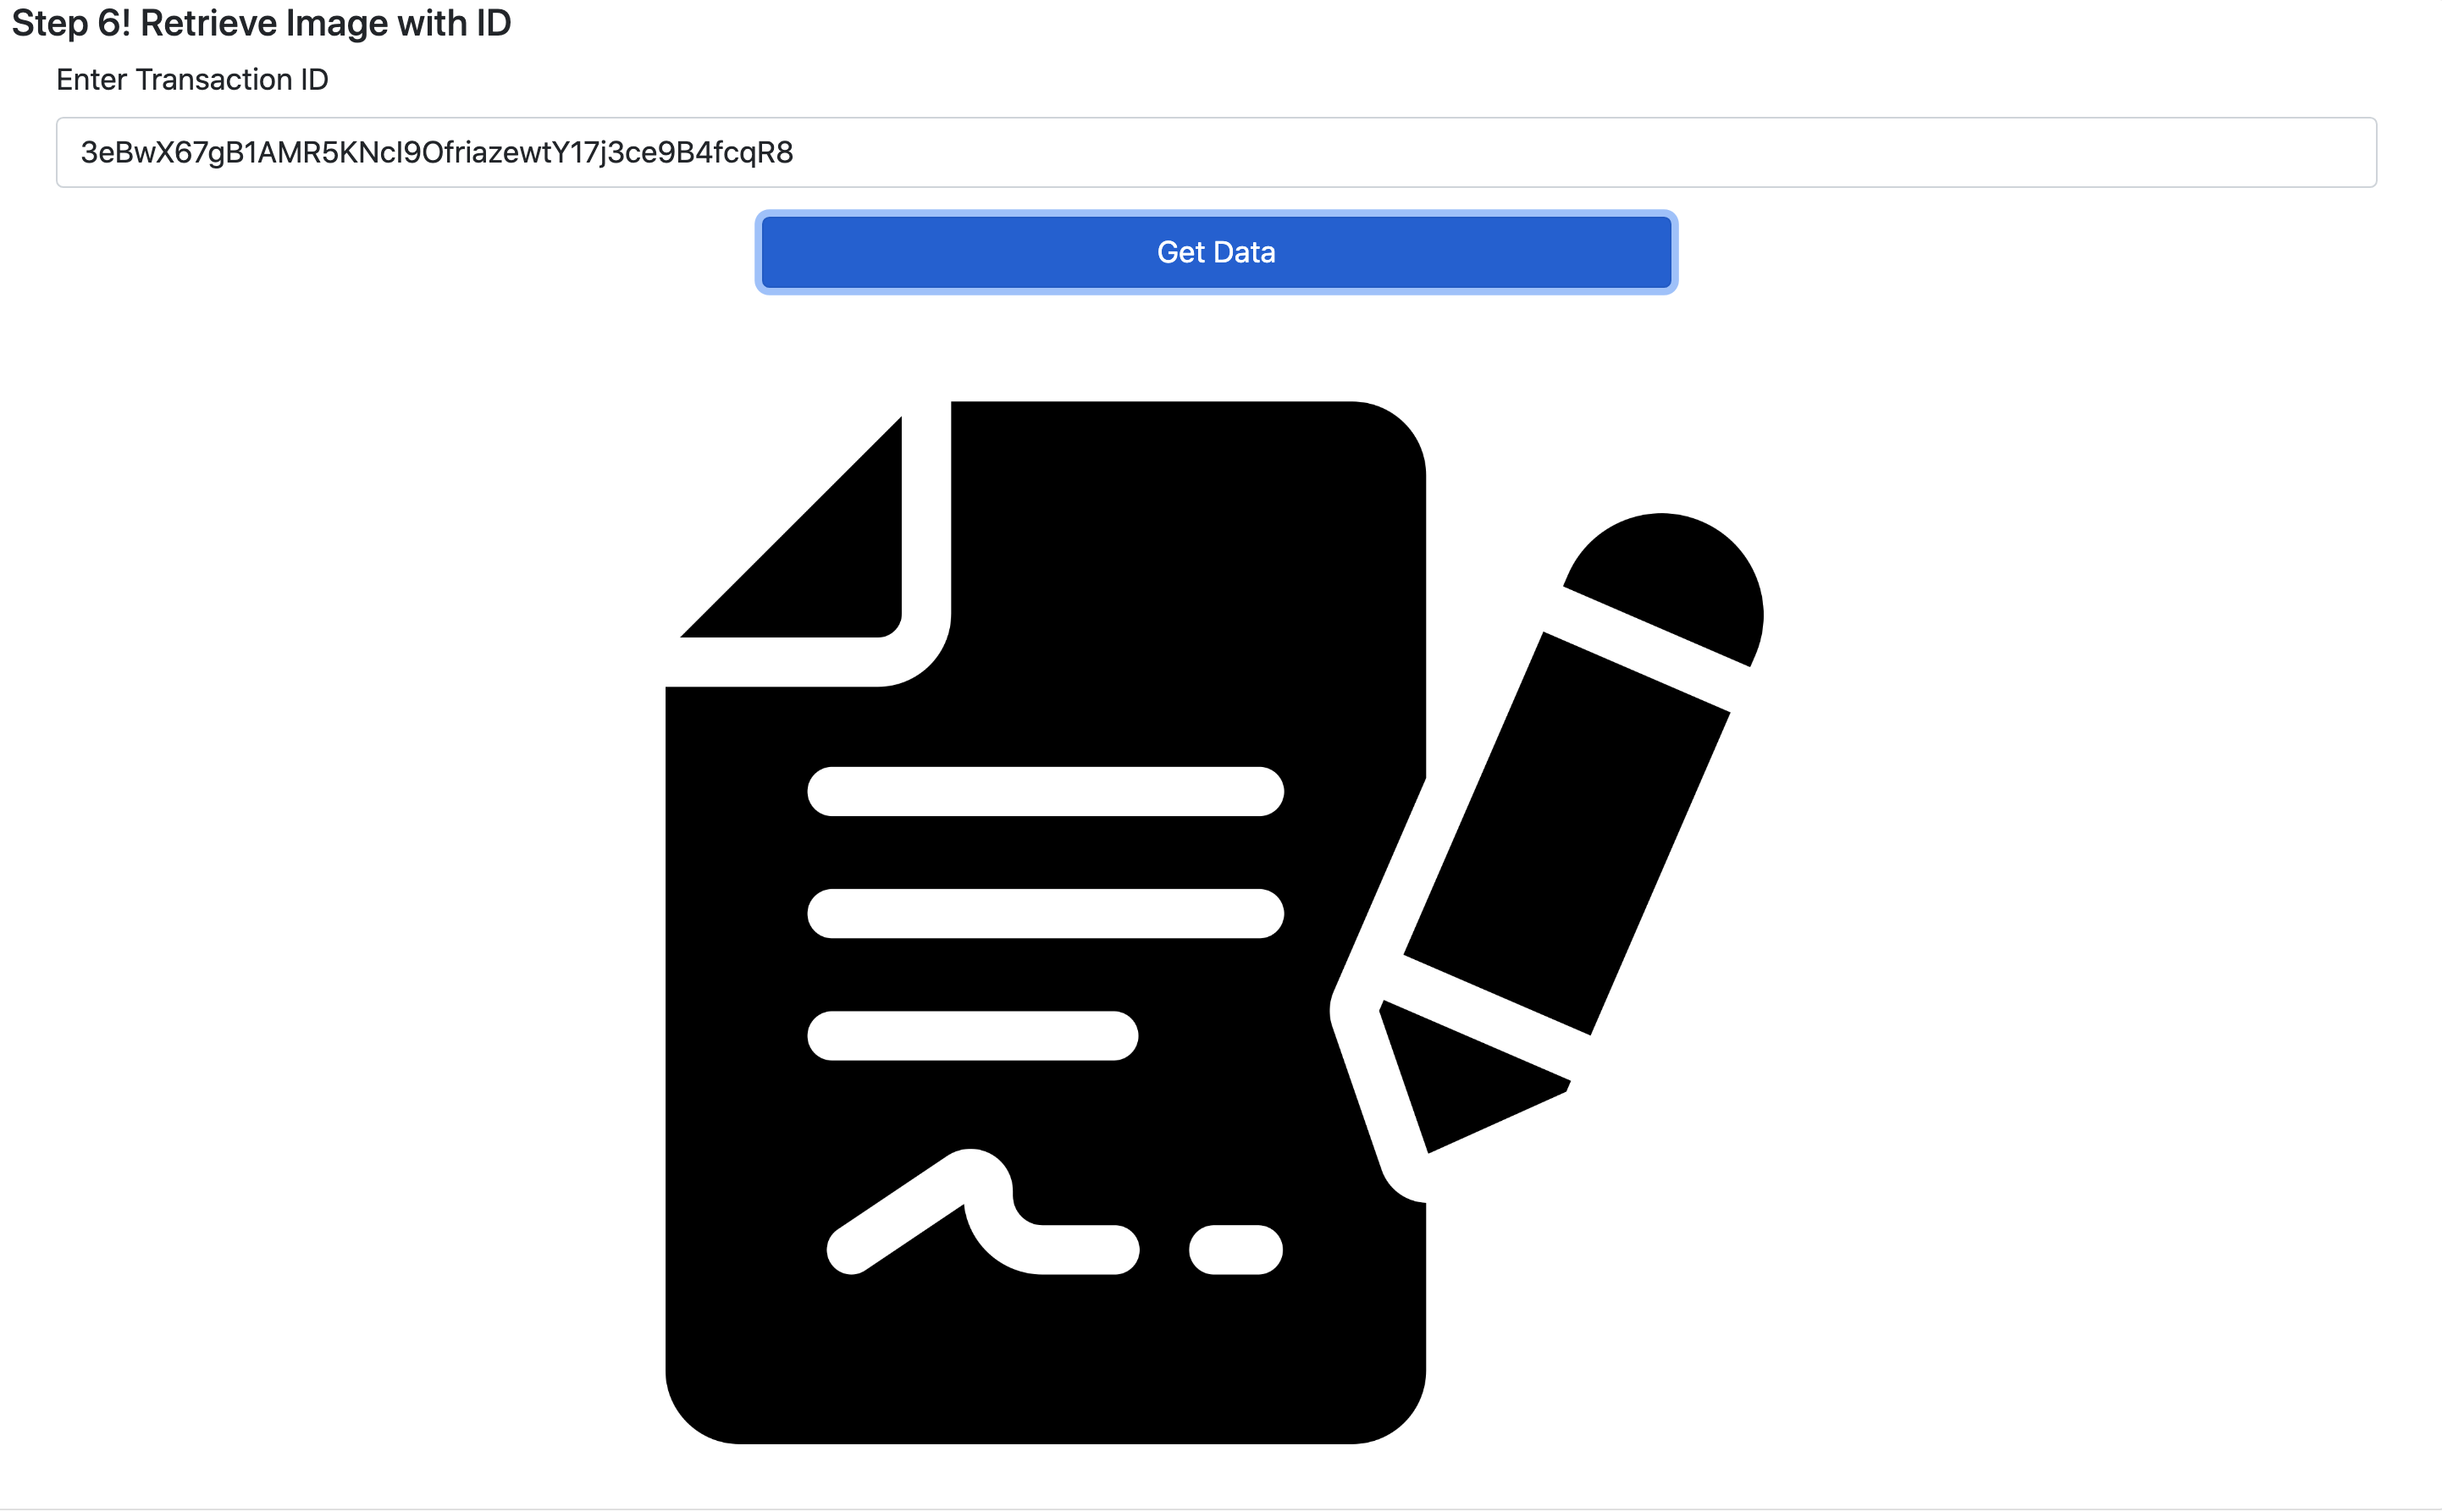
Nhận hình
- Bây giờ bạn có thể sao chép và dán bất kỳ arweave transaction ID xuất hiện trong bước 5 trên frontend để nhận file từ local node:
Crust
Crust provides a Web3.0 decentralized storage network for the Metaverse. It is designed to realize core values of decentralization, privacy and assurance. Crust supports multiple storage-layer protocols such as IPFS and exposes instant accessible on-chain storage functions to users. Crustʼs technical stack is also capable of supporting data manipulation and computing.
The Crust protocol is 100% compatible with the IPFS protocol, and it matches people who have hard drive space to spare with those who need to store data or host content. Crust is based on the Polkadot ecosystem and supports most contract platforms, including NEAR/Solana/Ethereum/Elrond/etc. with its cross-chain solution.
Integration example
Here's a simple integration example to store a file with Crust and NEAR.
1. Upload the file to IPFS
First, you need to put your files into IPFS.
There are 2 ways to upload a file to IPFS:
- using a local IPFS node
- using a remote IPFS W3Authed Gateway
- You can find more details about
ipfsW3GWendpoints on this link. - You can also find a code example on how to upload a file to IPFS on this link. :::
2. Place an storage order
Next, you need to send a transaction named Place Storage Order on Crust chain. This transaction will dispatch your storage requirement to each Crust IPFS nodes through the blockchain. Then the IPFS nodes will start pulling your file using the IPFS protocol.
- You can find more information about
crustChainEndpointon this link. - You can create your own account (
seeds) following these instructions. - Check this link for a code example about placing a storage order on Crust. :::
3. Query order status
Then, you can query the storage order by calling on-chain status (status{replica_count, storage_duration, ...}). This call will return:
{
    "file_size": 23710,
    "spower": 24895,
    "expired_at": 2594488, // Storage duration
    "calculated_at": 2488,
    "amount": "545.3730 nCRU",
    "prepaid": 0,
    "reported_replica_count": 1, // Replica count
    "replicas": [{
        "who": "cTHATJrSgZM2haKfn5e47NSP5Y5sqSCCToxrShtVifD2Nfxv5",
        "valid_at": 2140,
        "anchor": "0xd9aa29dda8ade9718b38681adaf6f84126531246b40a56c02eff8950bb9a78b7c459721ce976c5c0c9cd4c743cae107e25adc3a85ed7f401c8dde509d96dcba0",
        "is_reported": true,
        "created_at": 2140
    }] // Who stores the file
}
4. Add file prepaid
The default storage time for a single transaction (order) is 6 months. If you want to extend the storage duration, Crust provides a prepaid pool so you can customize the file's storage time. This pool allows you to put some tokens and will automatically extend the file's storage time.
IPFS
InterPlanetary File System (IPFS) được biết đến như là một giao thức, một mạng ngang hàng (peer-to-peer) cho phép người dùng lưu trữ, chia sẻ dữ liệu trên một hệ thống tệp dữ liệu phân tán (distributed file system). IPFS sử dụng công nghệ content-addressing nhằm xác định tính duy nhất của từng file, trong một không gian toàn cục được hình thành bằng cách kết nối các thiết bị điện toán lại với nhau.
Content identifier
Khi người sử dụng tải lên một file, hệ thống IPFS sẽ chia nhỏ file này thành các đoạn dữ liệu nhỏ hơn. Các đoạn dữ liệu này đều được hash và được hệ thống cung cấp một mã định danh riêng biệt, duy nhất trong hệ thống, mã định danh này được gọi là content identifier (CID).
CID đóng vai trò như một bản ghi vĩnh cửu của một file. Nó tồn tại từ lúc được xử lý thành công trong IPFS.
Tìm kiếm
Khi một node tìm kiếm một file, nó sẽ hỏi những node ngang hàng bằng CID để lấy đầy nội dung của file. Khi một node xem hoặc tải về một file, nó sẽ cache một bản sao và sẽ trở thành một node cung cấp thông tin cho đến khi cache bị xóa.
Đánh dấu nội dung
Trên mạng IPFS, mỗi một node chỉ lưu trữ những nội dung mà nó quan tâm. Các node có thể đánh dấu nội dung bất kỳ để lưu trữ nó mãi mãi hoặc loại bỏ các nội dung mà nó không còn được sử dụng nhằm tiết kiệm không gian lưu trữ.
Phiên bản của file
Trong quá trình sử dụng, khi người dùng tải lên mạng IPFS một phiên bản mới của file mà họ đang sở hữu, file này sẽ được nhận một CID mới do đoạn mã hoá đã bị thay đổi. Như vậy, file gốc sẽ không bị ghi đè đối với bất kỳ sự thay đổi dữ liệu nào trong quá trình sử dụng. Nhằm tối ưu chi phí lưu trữ, các đoạn dữ liệu nhỏ không bị thay đổi có thể được tái sử dụng.
Naming system
IPFS đã cung cấp sẵn một hệ thống đặt tên phân tán (decentralized naming system) nên bạn không nhất thiết phải nhớ chuỗi kí tự rất dài của các CID. IPFS có thể tìm kiếm version mới nhất cho file của người dùng bằng cách sử dụng naming system phân tán IPNS. Người dùng có thể sử dụng DNSLink để liên kết các mã CID với các tên DNS có thể dễ dàng đọc hiểu.
Các nhà cung cấp IPFS
- Web3.Storage: Đây là một dịch vụ miễn phi giúp đơn giản hoá quá trình xây dựng trên IPFS và Filecoin. Được sự hỗ trợ bởi FileCoin, Web3.Storage biến các nội dụng trở nên khả dụng thông qua IPFS, tận dụng tối đa các sức mạnh riêng biệt của từng mạng.
- NFT.Storage: Đây là dịch vụ miễn phí, được xây dựng và phát triển riêng biệt nhằm lưu trữ các dữ liệu NFT off-chain. Các dữ liệu này được lưu trữ phi tập trung trên IPFS và FileCoin. Các dữ liệu này được tham chiếu thông qua việc sử dụng content-addressed IPFS URIs, cho nên nó hoàn toàn có thể được sử dụng trong các smart contract.
- Filebase: a geo-redundant IPFS pinning provider that pins all IPFS files with automatic 3x redundancy across diverse, geographic locations for additional performance, redundancy, and reliability.
Ví dụ
Tích hợp một IPFS đơn giản bằng cách sử dụng NFT.Storage API:
-
Đăng ký một account trên nft.storage để có thể tạo các API access key.
-
Tạo một API access key và lưu nó lại.
-
Submit một
HTTP POSTrequest đếnapi.nft.storage/upload, nhập API key và file data trong request body:
curl -X POST --data-binary @/path/to/file/art.png -H 'Authorization: Bearer YOUR_API_KEY' https://api.nft.storage/upload
"Authorization": "Bearer YOUR_API_KEY" :::Các request th�ành công sẽ nhận một HTTP 200 status và application/json response như:
{
  "ok": true,
  "value": { "cid": "bafy..." }
}
- Sử dụng
cid, thay thế nó vào URL của image:https://<cid>.ipfs.dweb.link/
https://bafyreiabag3ztnhe5pg7js4bj6sxuvkz3sdf76cjvcuqjoidvnfjz7vwrq.ipfs.dweb.link/
Bây giờ, file của bạn đã được upload lên IPFS, bạn có thể truy xuất lại nó bằng cách sử dụng cid link.