Create NFTs in Minecraft
In this tutorial you'll learn how to take your custom Minecraft creations and mint the schematics into NFTs on the NEAR blockchain!
Overview
This tutorial will run you through minting Minecraft structures of any size onto the NEAR blockchain. It will allow you to copy and paste the designs into your own worlds. For this, we will be using WorldEdit to download and read the schematics and we'll put them on-chain using IPFS.
Prerequisites
It is recommended that you first complete the introductory minting NFTs tutorial
To complete this tutorial successfully, you'll need:
Creating a Schematic
In this section, we'll be creating the Minecraft schematic to put on chain.
Setup
- Once you have WorldEdit installed and Minecraft loaded up, let's check if WorldEdit is working properly by running:
//pos1
If WorldEdit is properly installed, it should output First position set to (X, Y, Z). where X, Y, and Z are coordinates.
For this tutorial, we will be minting a small village house. To follow along, choose any structure that you'd like to mint as shown below:
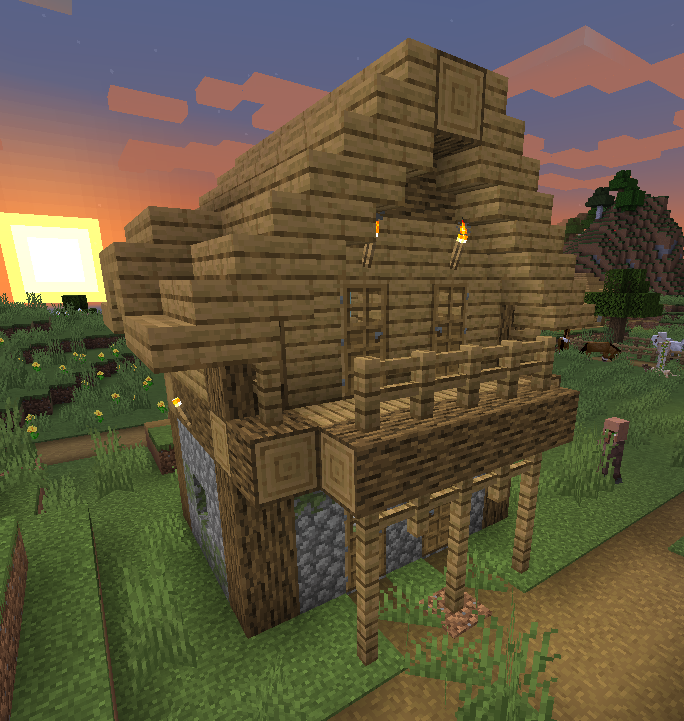
You'll then want to choose the boundaries of the structure that you'd like to copy. We will turn these into schematics which will be placed on chain for you or others to download and paste in your own worlds.
- To do this, we'll need to outline the boundaries of the build using WorldEdit. Stand in the bottom left corner of your build and run:
//pos1
- You can then move to the top right corner and run:
//pos2
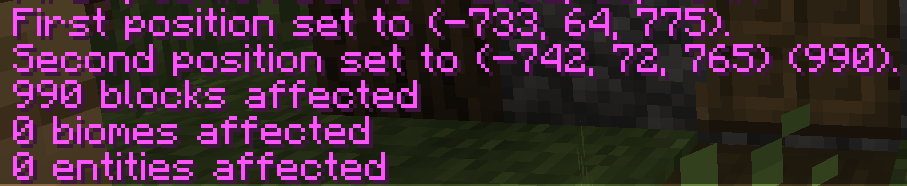
Setting these two positions has now created a cube around your build.
- We can now copy the contents of that build by running:
//copy
The output should look something like this:
Remember to note the position of your player when copying. If you copy the build and lets say you're standing on the roof, when you paste the build it will paste the build in a way that will result in you standing on the roof.
Sanity Check
We can check and see if our build is fine by pasting what we just copied elsewhere in our world.
- Go to a location that you would like to paste the build and run:
//paste
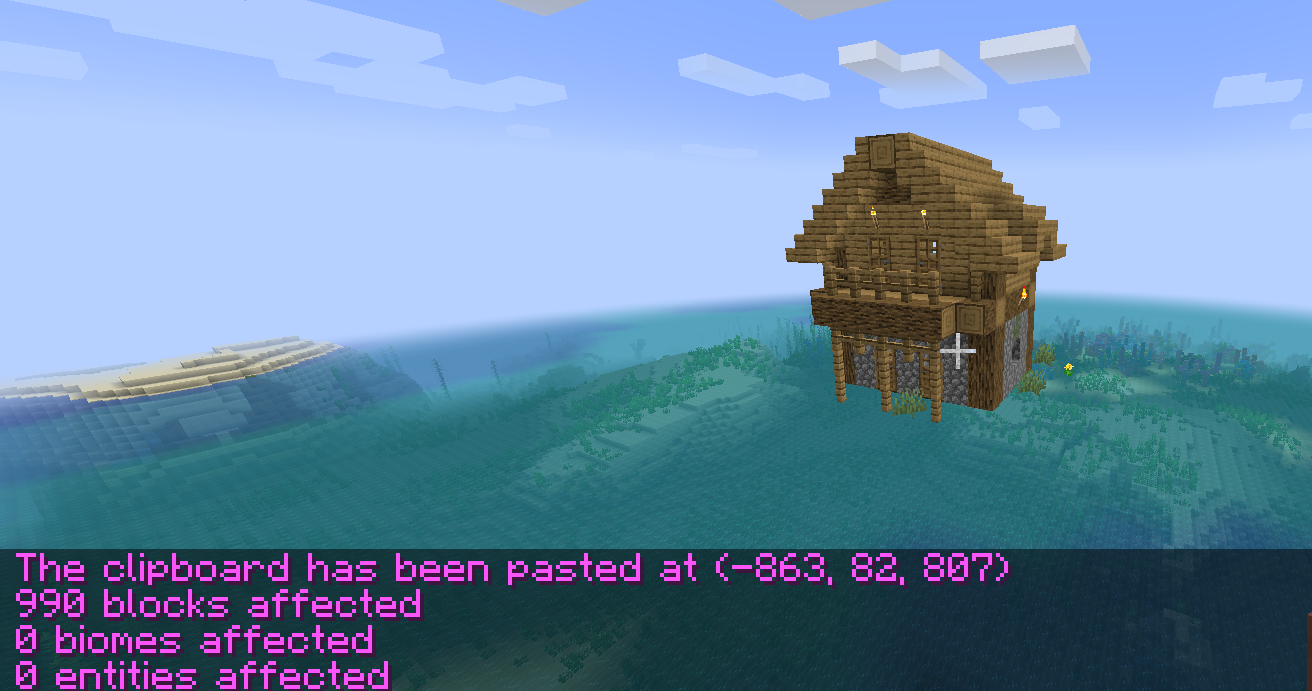
In the example below, we pasted the village house floating above a coral reef biome. You should also see a response notifying you that the clipboard has been pasted. (See example below)
Creating the Schematics File
When you're happy with the build you've just copied and pasted, it's time to create the schematic file that we'll mint into an NFT. To do this we'll run a WorldEdit command that will save the schematic file on our local machine.
- To do this, run the command
schematic save FILE_NAMEreplacingFILE_NAMEwith a name of your choosing.
This will save the file to your Minecraft folder with under minecraft/config/worldedit/schematics witha .schem extension.
- Now test your file by loading the schematic we just saved using
schematic load FILE_NAME.
This will load the schematic to our clipboard and we're free to paste it in our world.
Minting the Schematic
In this section, we'll mint the schematics file, we've just created and put it on the blockchain using IPFS and web3.storage. In order to proceed, you need to locate the FILE_NAME.schem we created in the last section. This file can be found in your Minecraft folder under minecraft/config/worldedit/schematics. The location of your minecraft folder differs depending on your OS.
Uploading the schematic
To upload the schematic, we are going to use the free web3.storage service built for storing off-chain data. Web3.storage offers free decentralized storage and bandwidth on IPFS and Filecoin.
Steps
-
Register an account and log in to web3.storage either via email or your GitHub.
-
Go to the Files section, and click on the Upload more Files button.
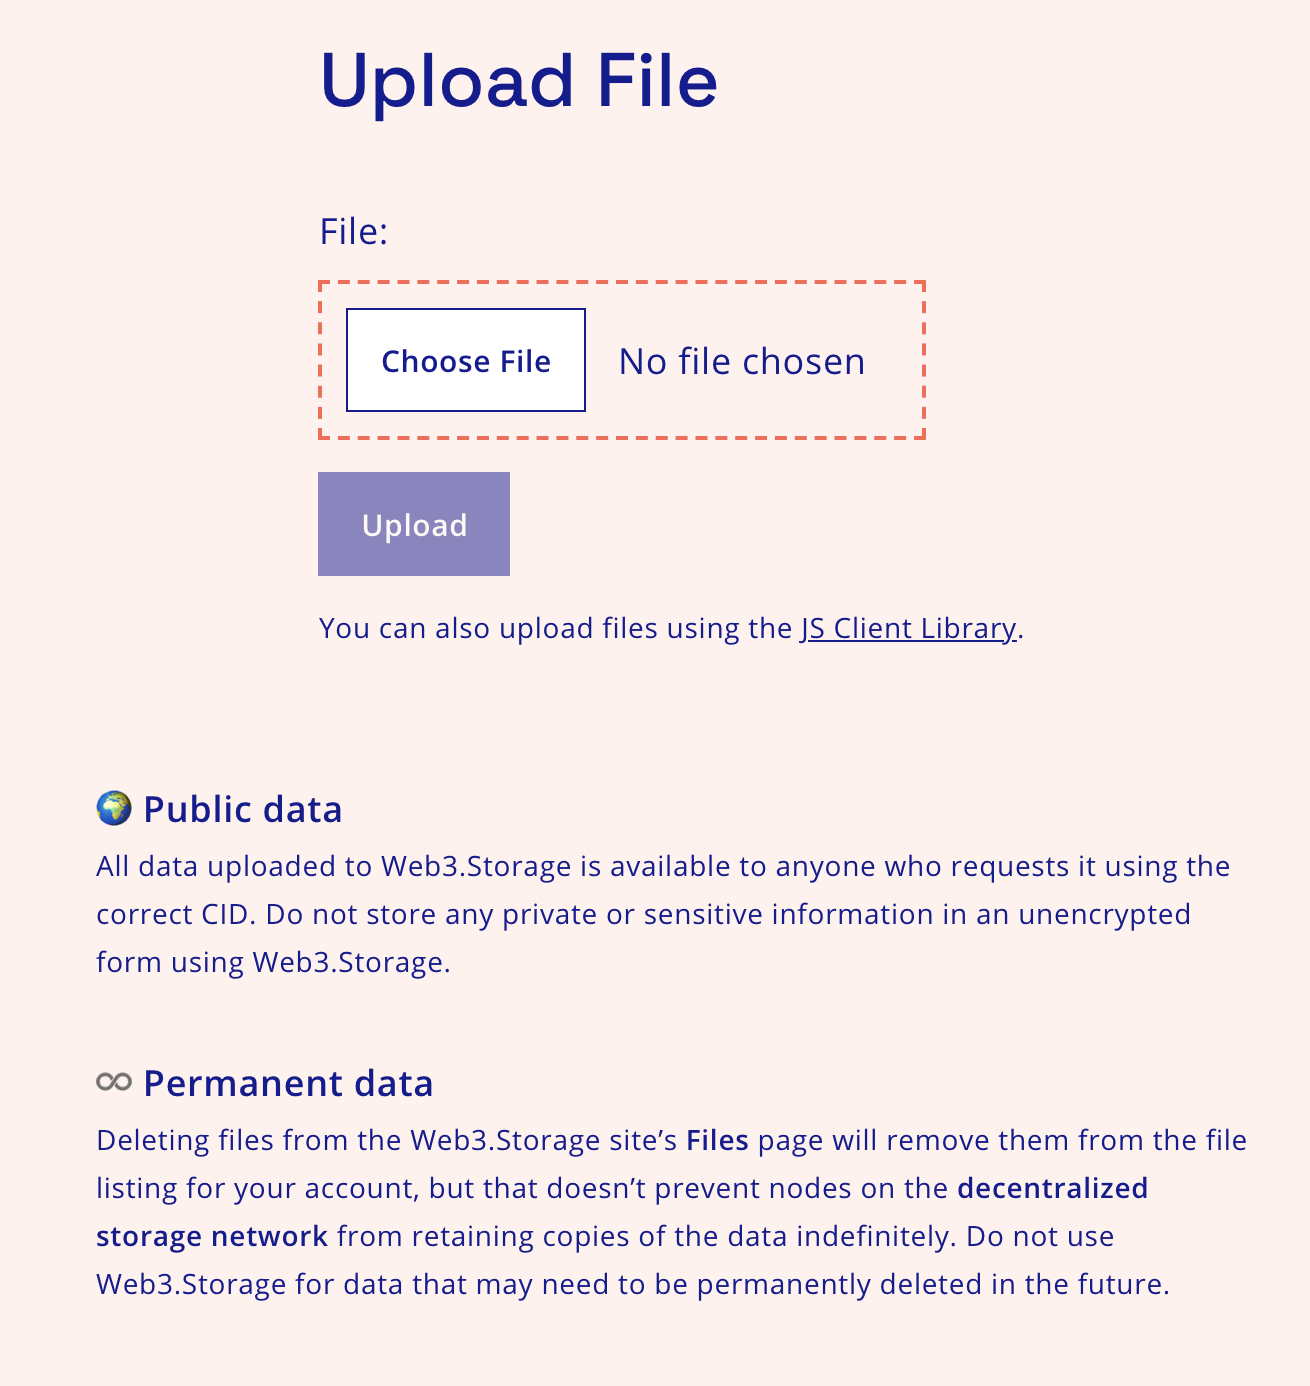
-
Once you have uploaded your file, you'll get a unique
CIDfor your content, and a URL similar to:https://bafybeidadhfilezx23dcdaueo3bjuafqeehokw33vyepkjtppigorrhbpy.ipfs.dweb.link/
See the web3.storage docs for information on uploading multiple files and available API endpoints.
Interacting With the Contract
NEAR has already deployed a contract to the account nft.examples.testnet which allows users to freely mint tokens. This is the account we'll be interacting with to mint our NFTs. Alternatively, if you've deployed a contract when following the original tutorial, you can use that as well.
We'll be using the IPFS link we got in step three of the uploading process above as the media value when calling nft_mint.
- Run the following command and replace the
receiver_idfield and the--accountIdflag with the account ID you're logged into with NEAR CLI:
- Short
- Full
near call nft.examples.testnet nft_mint '{"token_id": "my-token-unique-id", "receiver_id": "YOUR_ACCOUNT", "metadata": { "title": "YOUR NFT TITLE", "description": "YOUR NFT DESCRIPTION", "media": "https://bafybeidadhfilezx23dcdaueo3bjuafqeehokw33vyepkjtppigorrhbpy.ipfs.dweb.link/", "copies": 1}}' --accountId YOUR_ACCOUNT --deposit 0.1
near contract call-function as-transaction nft.examples.testnet nft_mint json-args '{"token_id": "my-token-unique-id", "receiver_id": "YOUR_ACCOUNT", "metadata": { "title": "YOUR NFT TITLE", "description": "YOUR NFT DESCRIPTION", "media": "https://bafybeidadhfilezx23dcdaueo3bjuafqeehokw33vyepkjtppigorrhbpy.ipfs.dweb.link/", "copies": 1}}' prepaid-gas '100.0 Tgas' attached-deposit '0.1 NEAR' sign-as YOUR_ACCOUNT network-config testnet sign-with-keychain send
- Be sure to replace the title, description and media URL with your own.
Example response:
{
  "token_id": "0",
  "owner_id": "YOUR_ACCOUNT",
  "metadata": {
    "title": "My awesome Minecraft NFT",
    "description": "Custom log cabin",
    "media": "https://bafybeidadhfilezx23dcdaueo3bjuafqeehokw33vyepkjtppigorrhbpy.ipfs.dweb.link/",
    "media_hash": null,
    "copies": 1,
    "issued_at": null,
    "expires_at": null,
    "starts_at": null,
    "updated_at": null,
    "extra": null,
    "reference": null,
    "reference_hash": null
  },
  "approved_account_ids": {}
}
- To view tokens owned by an account on the
example-nftcontract, you can call the contract with the followingnear-clicommand:
- Short
- Full
near view nft.examples.testnet nft_tokens_for_owner '{"account_id": "YOUR_ACCOUNT"}'
near contract call-function as-read-only nft.examples.testnet nft_tokens_for_owner json-args '{"account_id": "YOUR_ACCOUNT"}' network-config testnet now
Example response:
[
  {
    "token_id": "0",
    "owner_id": "YOUR_ACCOUNT",
    "metadata": {
      "title": "Some Art",
      "description": "My NFT media",
      "media": "https://bafybeidadhfilezx23dcdaueo3bjuafqeehokw33vyepkjtppigorrhbpy.ipfs.dweb.link/",
      "media_hash": null,
      "copies": 1,
      "issued_at": null,
      "expires_at": null,
      "starts_at": null,
      "updated_at": null,
      "extra": null,
      "reference": null,
      "reference_hash": null
    },
    "approved_account_ids": {}
  }
]
Using the Village Schematic
Now that you've uploaded your schematic to the blockchain, all someone would need to do to paste it in their own world would be to download the *.schem file associated with the IPFS link we minted the NFT with and place it in their schematics folder.
As a test, we've minted an NFT that contains the village schematic we've been working with so that you can download it and paste it in your world.
Getting the Schematics File
The first thing you'll need to do is view the metadata for the token we've minted that contains the IPFS link to the village schematic. We've minted a token with the ID village-schematic under the account village-schematic.testnet.
- To get the media link, run the following command:
- Short
- Full
near view nft.examples.testnet nft_tokens_for_owner '{"account_id": "village-schematic.testnet"}'
near contract call-function as-read-only nft.examples.testnet nft_tokens_for_owner json-args '{"account_id": "village-schematic.testnet"}' network-config testnet now
Expected response:
[
  {
    token_id: 'village-schematic',
    owner_id: 'village-schematic.testnet',
    metadata: {
      title: 'Village Schematic',
      description: 'Blockcraft Village Schematic Tutorial NFT',
      media: 'https://bafybeidadhfilezx23dcdaueo3bjuafqeehokw33vyepkjtppigorrhbpy.ipfs.dweb.link/',
      media_hash: null,
      copies: 1,
      issued_at: null,
      expires_at: null,
      starts_at: null,
      updated_at: null,
      extra: null,
      reference: null,
      reference_hash: null
    },
    approved_account_ids: {}
  }
]
- You can then take the media link and paste it into your browser. It should send you to a page that looks similar to this:

- If you click on the file called
village-house.schem, it will download the file. - You can then copy the schematics file and paste it into your
minecraft/config/worldedit/schematicsfolder.
Loading the Schematics File in Minecraft
- After you've pasted the schematics file into the
minecraft/config/worldedit/schematicsfolder, you can then load the schematic into your clipboard by running the following command in your minecraft world:
//schematics load village-house
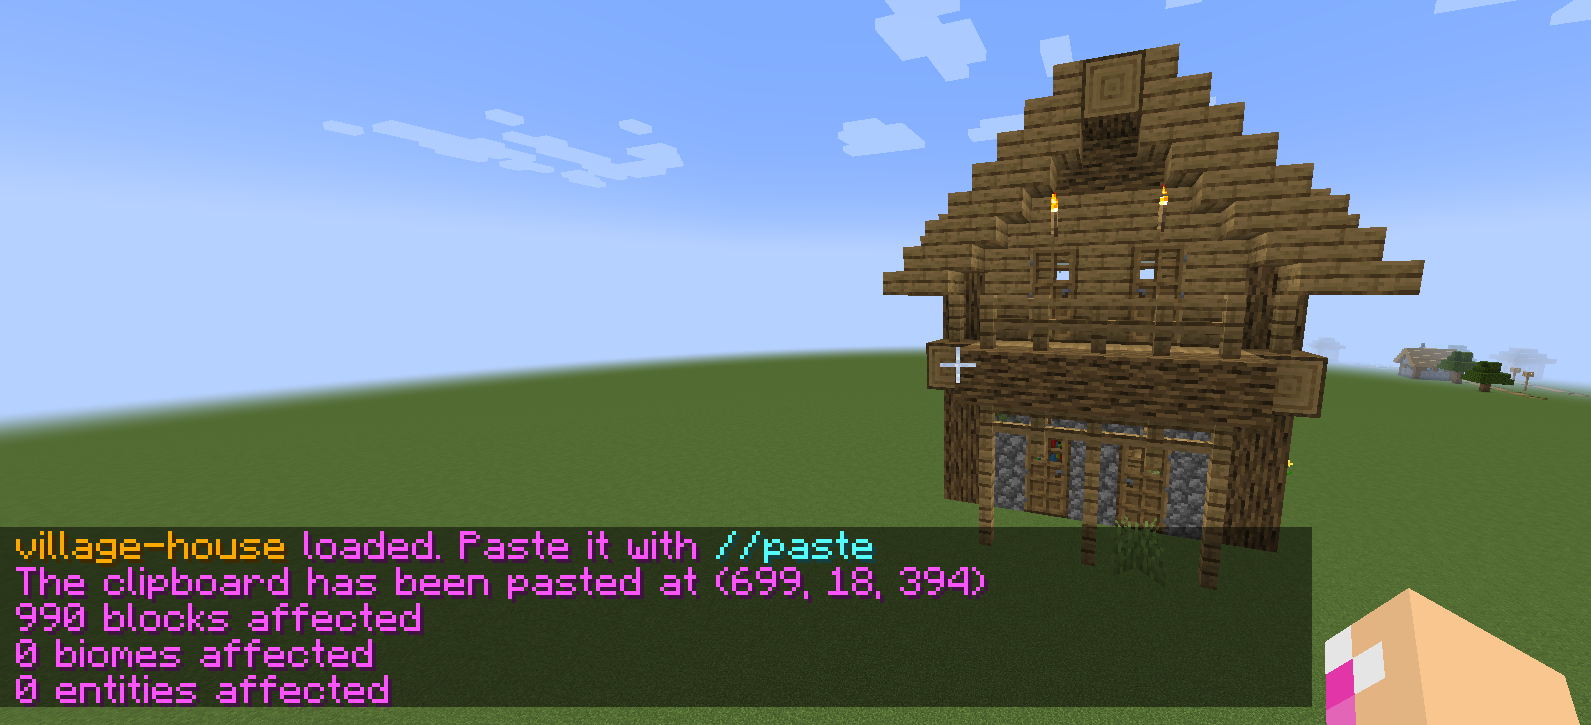
- You can now paste the file anywhere in your world by simply using the
//pastecommand and voila! You should see something similar to this:
Congratulations! You've just learned how to mint a Mincraft schematic NFT and load it into your world!
Versioning for this article
At the time of this writing, this example works with the following versions:
- near-cli:
2.1.1